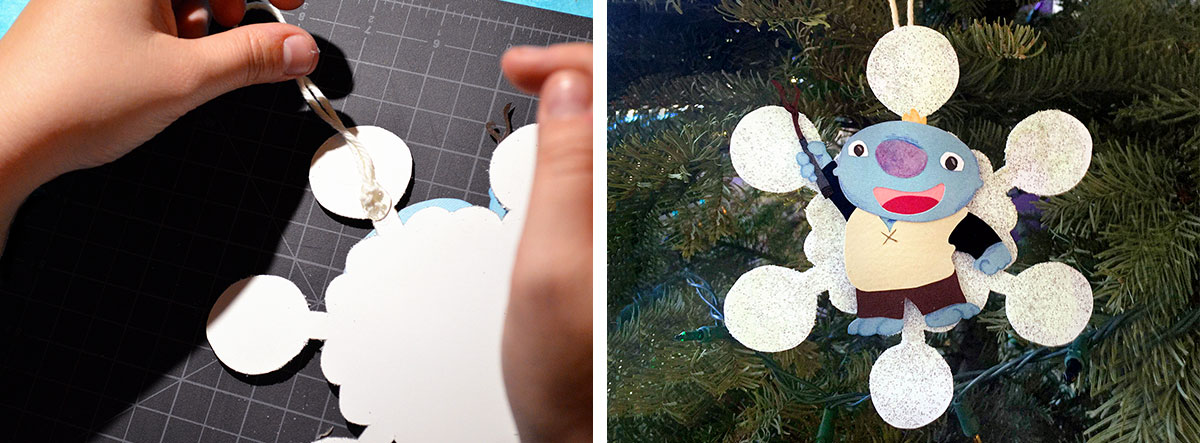
Two of my favorite things? Wally and snowflakes! Put them together in this adorable ornament and you’ll have the most magical decoration for your Christmas tree. Follow the instructions below!
(Difficulty Level: Medium)
What You’ll Need
Wally snowflake image and pattern guide (print below)
Paper, scrapbooking or construction
X-acto knife or scissors
Cutting board or magazine
Tacky glue or a glue gun (substitute Elmer’s glue or a glue stick)
Colored pencils
White gel pen
String
Optional
Glitter
Sequins
Fake jewels
Double-sided foam tape
*Note: Scrapbooking paper is recommended since it is sturdier, but construction paper works too*
How to Make
Step One: Print off snowflake image and pattern guide
Step Two: Place the pattern guide on top of paper. Press down hard onto the pattern guide with a ballpoint pen so that it leaves an imprint onto the paper underneath. Repeat for all shapes.

Step Three: Cut out shapes you transferred either with an xacto knife or with scissors. (If using an xacto knife, be sure to cut atop a cutting board or magazine.)
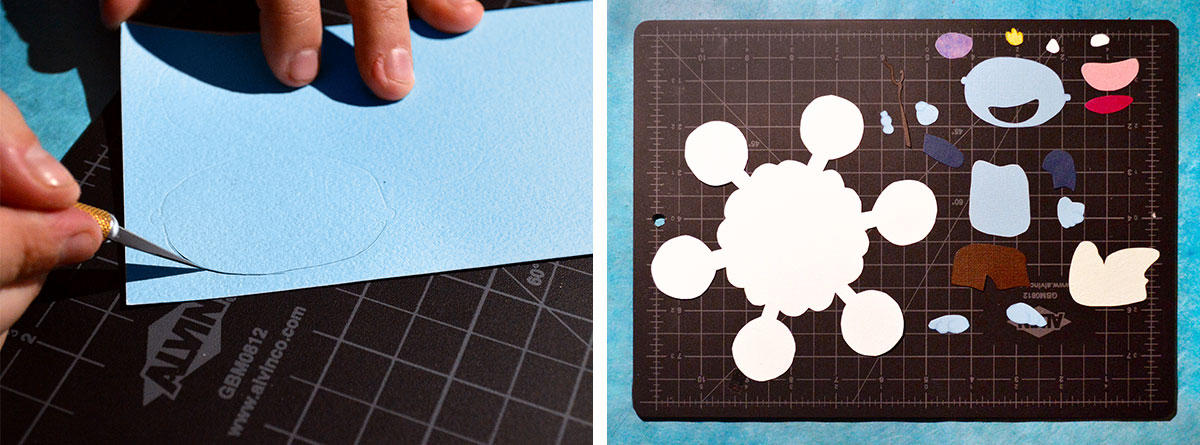
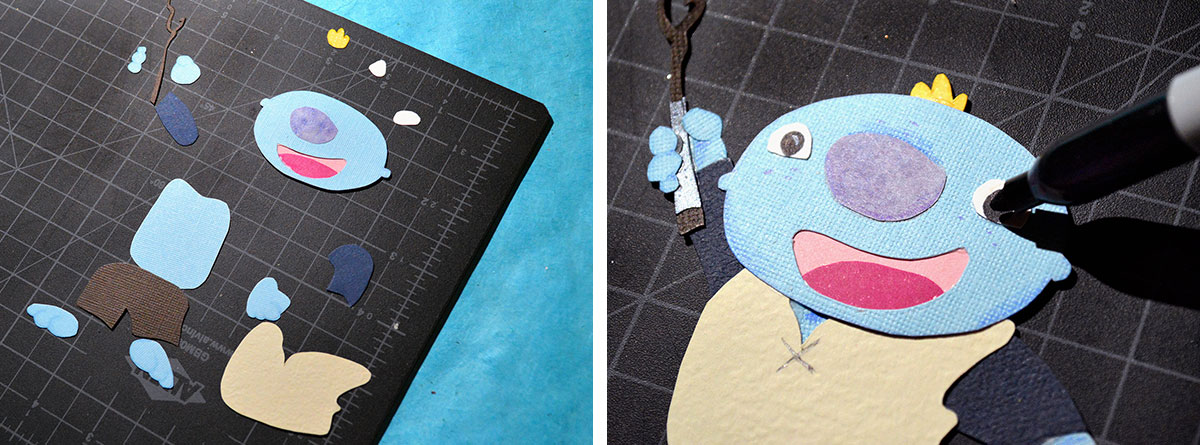
Step Four: Glue the shapes together from bottom to top.
Step Five: Using a sharpie, draw on Wally’s eyes. For an extra touch, use a white gel pen to add light specks to Wally’s eyes, use color pencil to add extra detail to Wally’s skin.
Step Six: You can leave your snowflake as is, but if you so choose, decorate your snowflake! Use glitter, sequins, and fake jewels to add some pizazz!
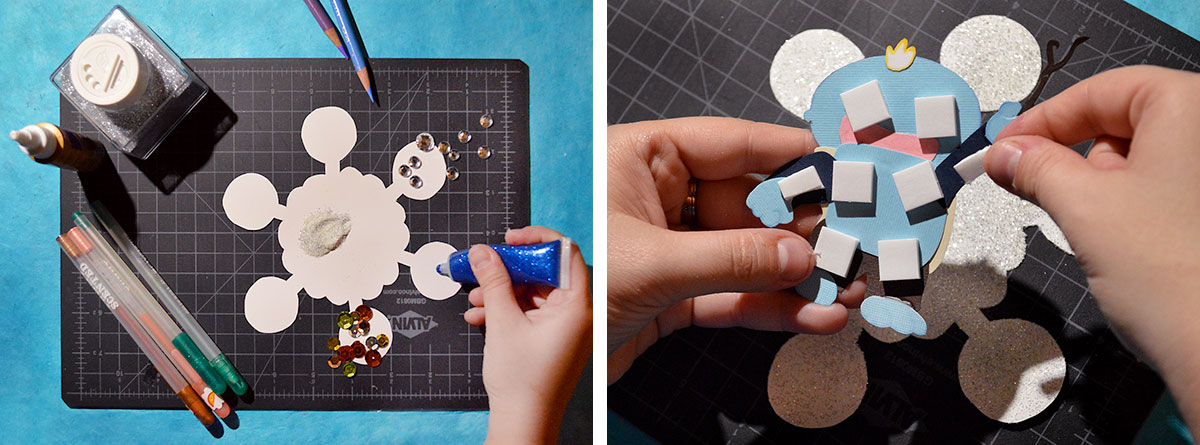
Step Seven: Let Snowflake dry for one hour.
Step Eight: Glue Wally to the snowflake, applying pressure to make sure he sticks. To add some dimension to your snowflake, attach double-sided foam tape to Wally’s back before attaching him to the snowflake
Step Nine: Cut a piece of string, loop string and tie into a knot. Then flip the snowflake over and use a hot glue to attach string to the ornament.
Step Ten: Wally-fy your tree!
