Something wicked is creeping around the corner. It’s getting closer…
It’s scary.
It’s spooky.
It’s Halloween!
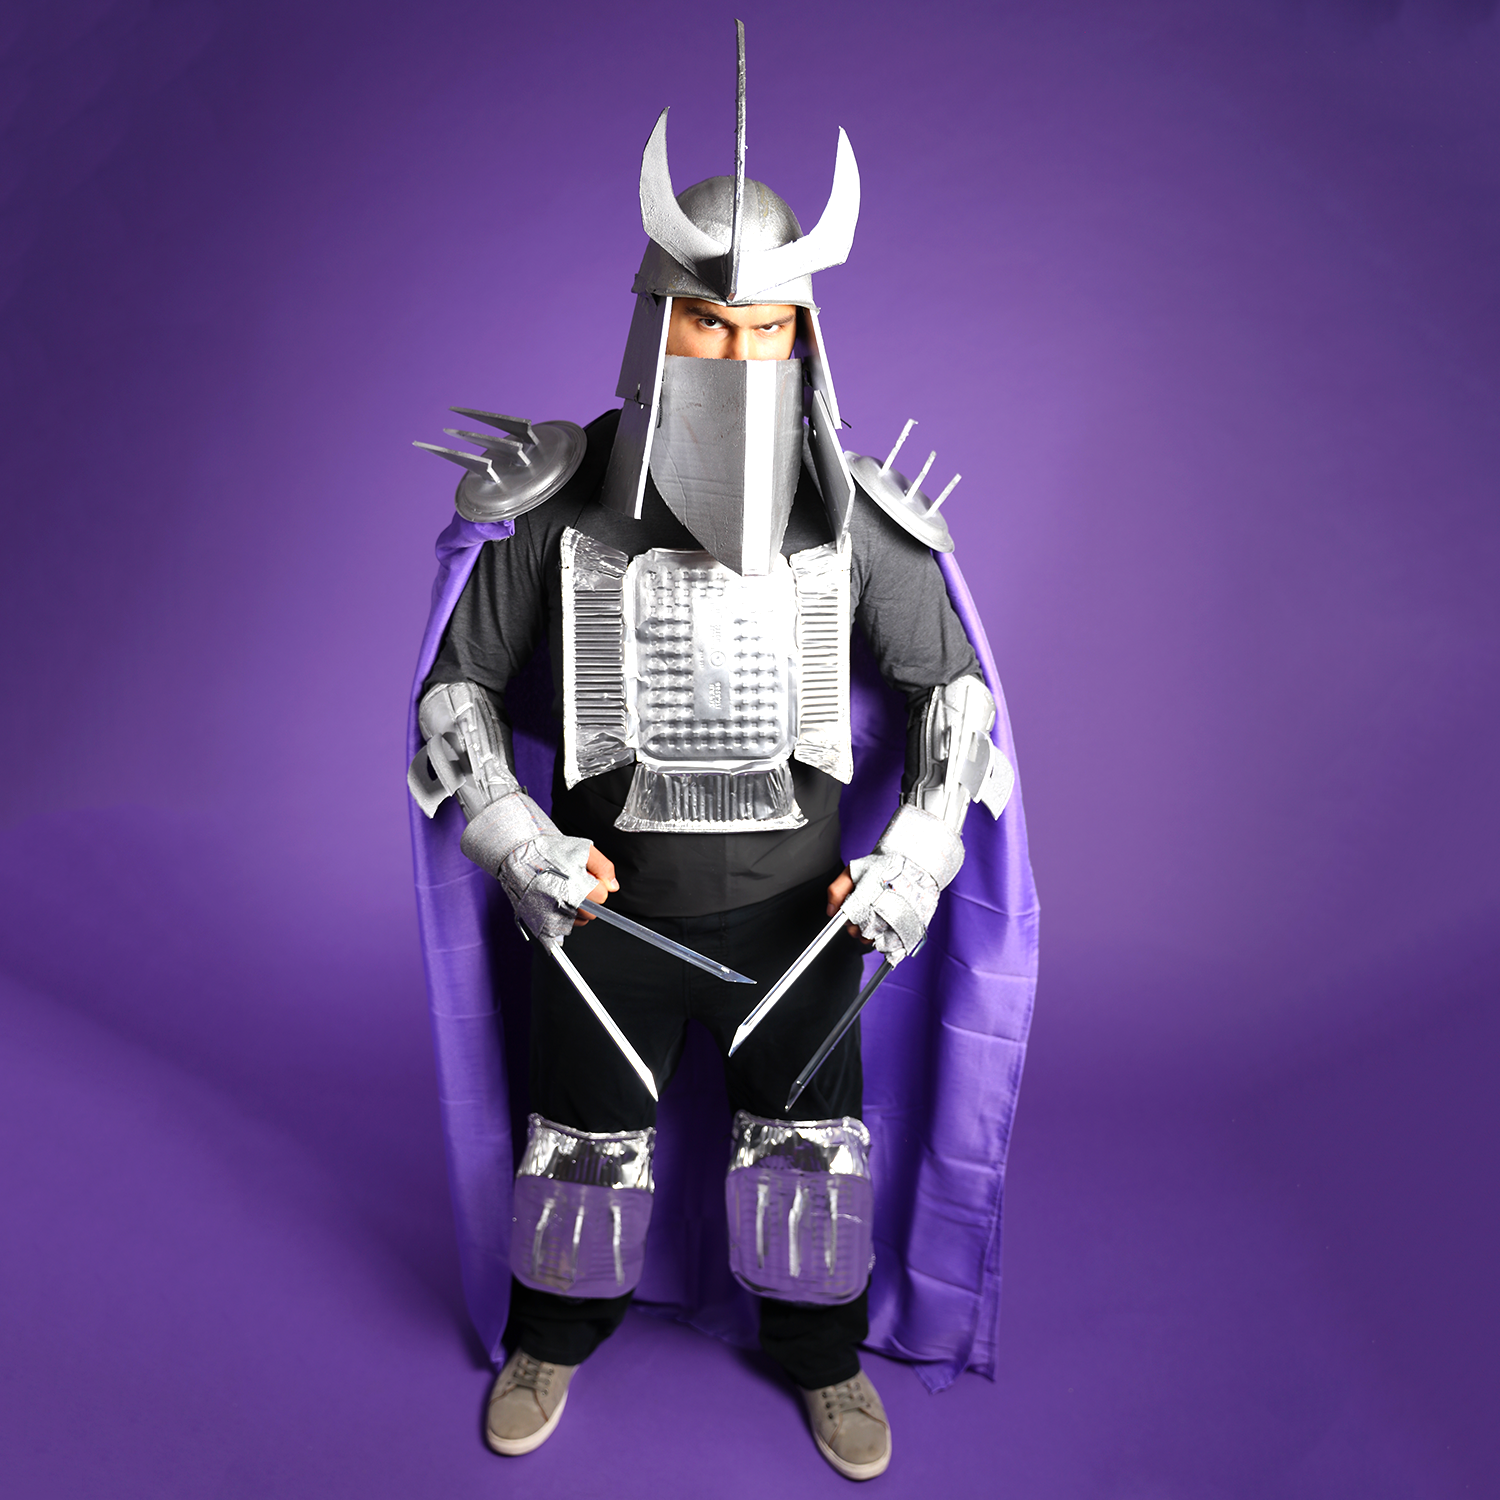
Don’t fret, we’ve got your back, dude. This DIY TMNT Shredder costume is not only totally sweet, but also quick, easy, and inexpensive. Here’s a step-by-step guide that’ll have your half-shell heroes ready for trick-or-treat action in no time!
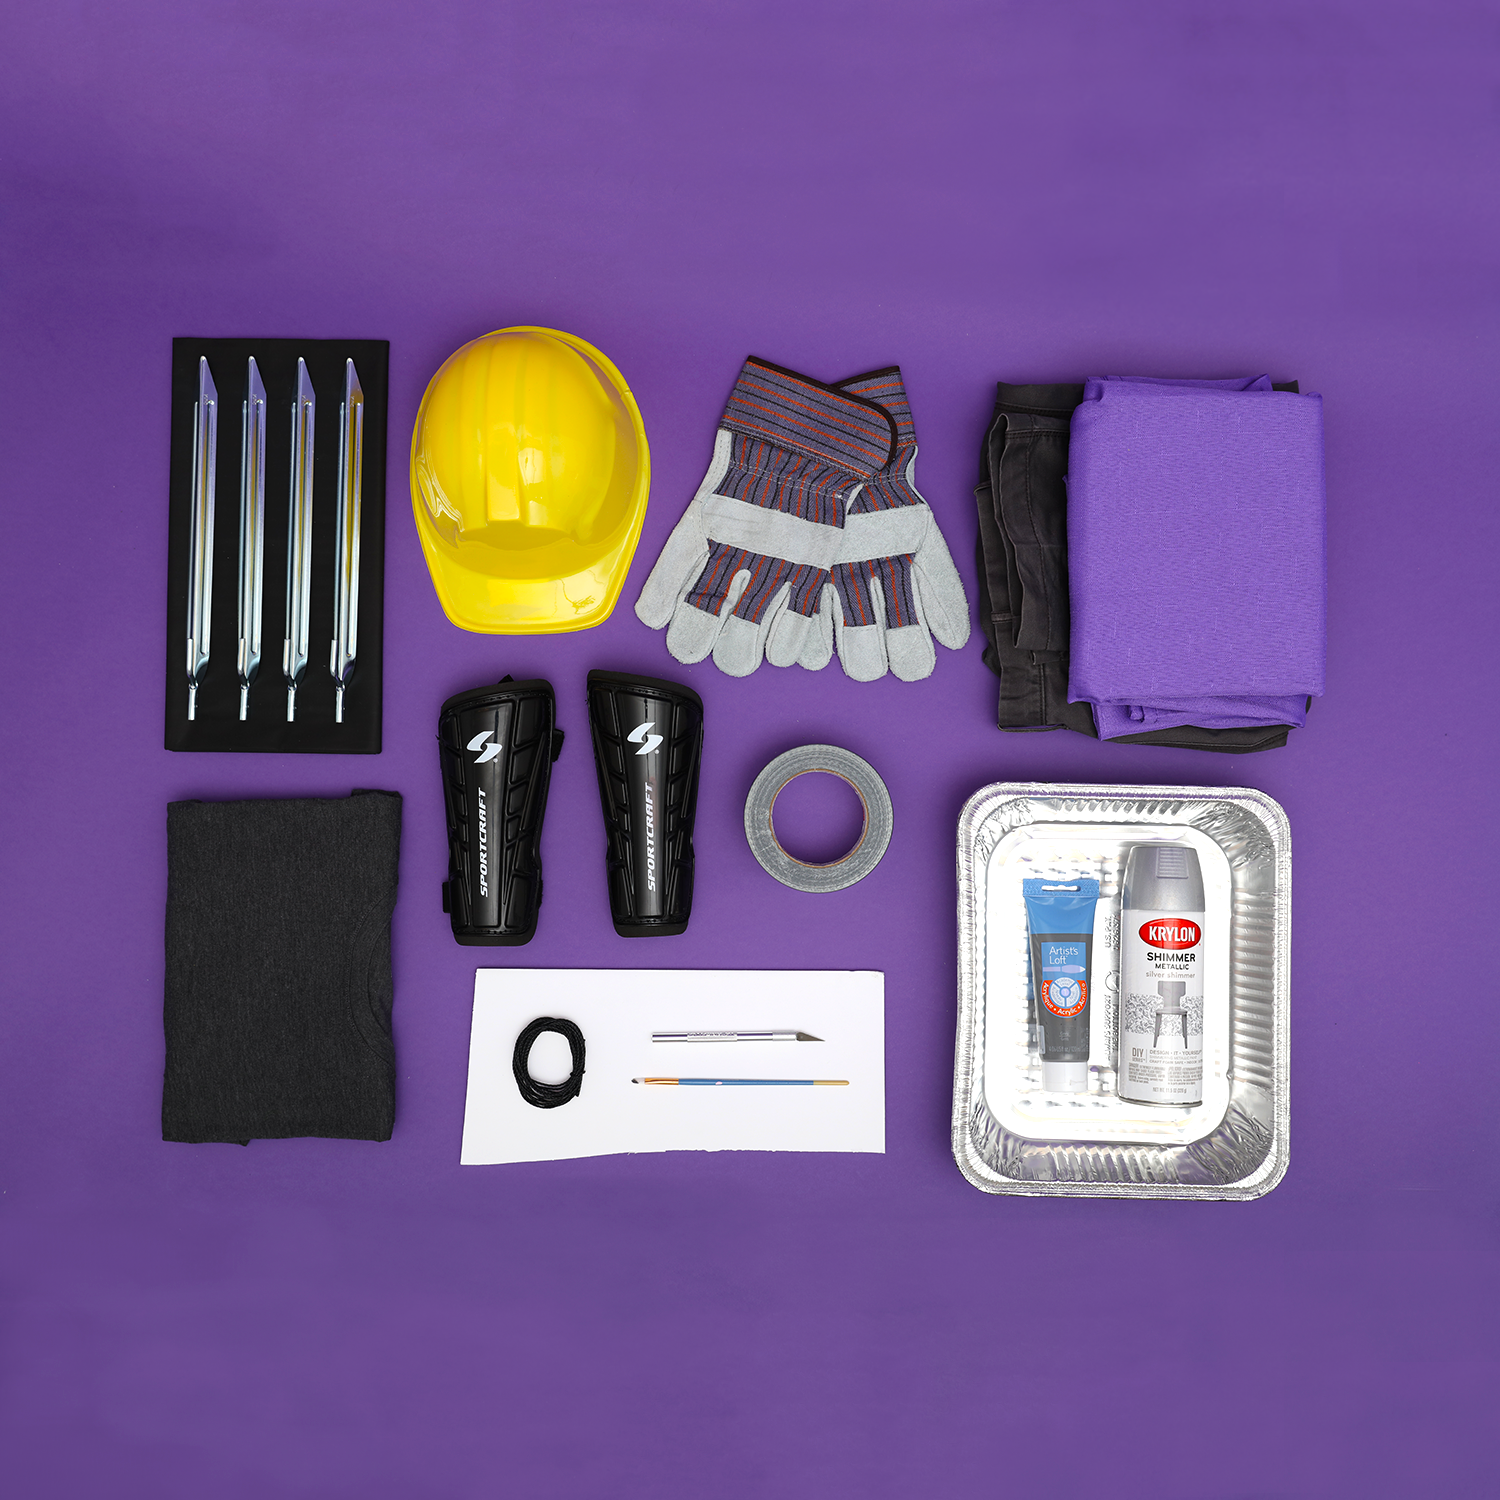
What You’ll Need
2 Foam core boards
Scissors
Precision knife
2 Paper plates
3 Large baking pans
String
Construction gloves
Costume (plastic) construction helmet
Tent stakes (optional)
Purple tablecloth
Silver spray paint
Hot glue gun and glue
Duct tape
Gray/Black shirt
Gray/Black pants
Soccer shin guards
How to Make
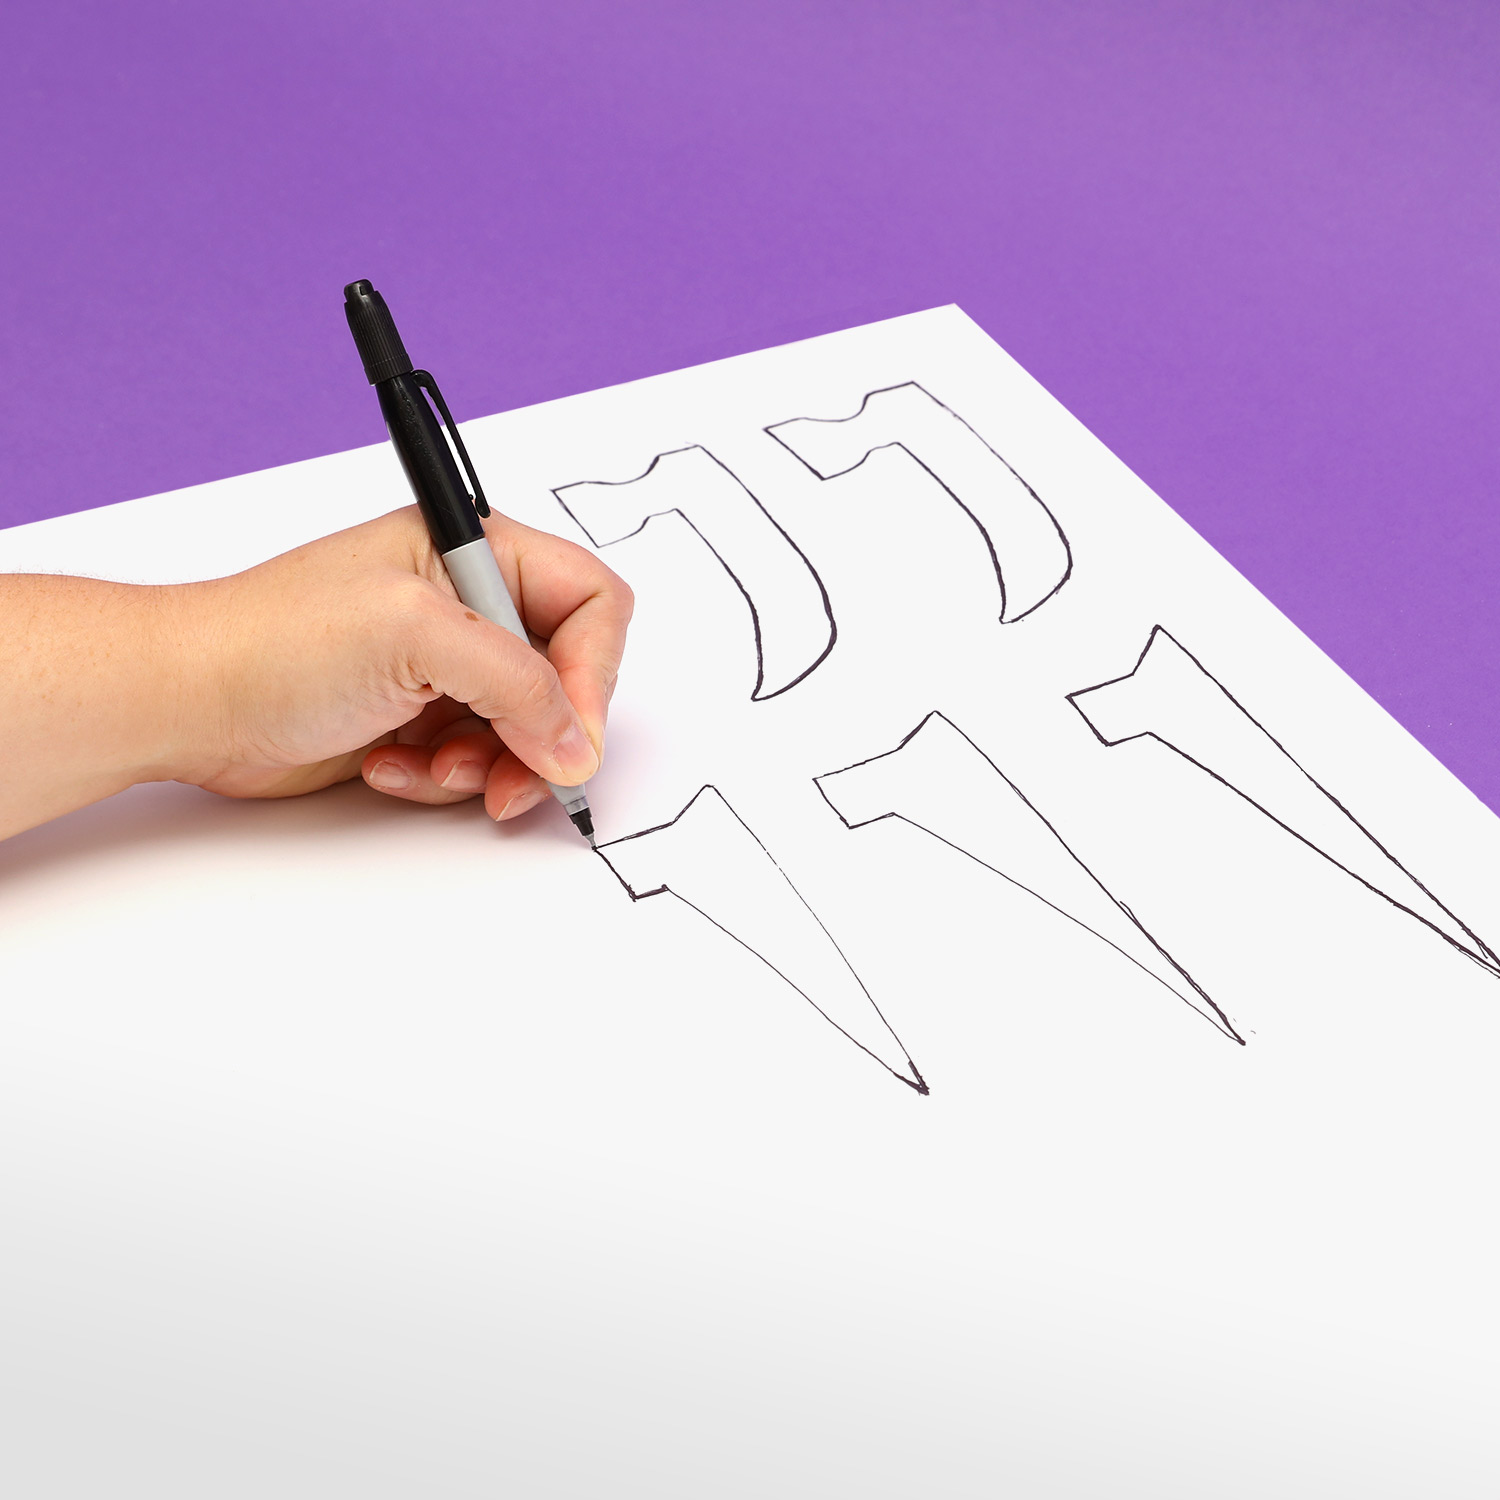
Step One: Sketch the spikes for the armor on the foam core board. Make sure you’ve got room for all of them. Shredder is a spike-y dude! You’re going to want three for each arm, leg, shoulder, and head.
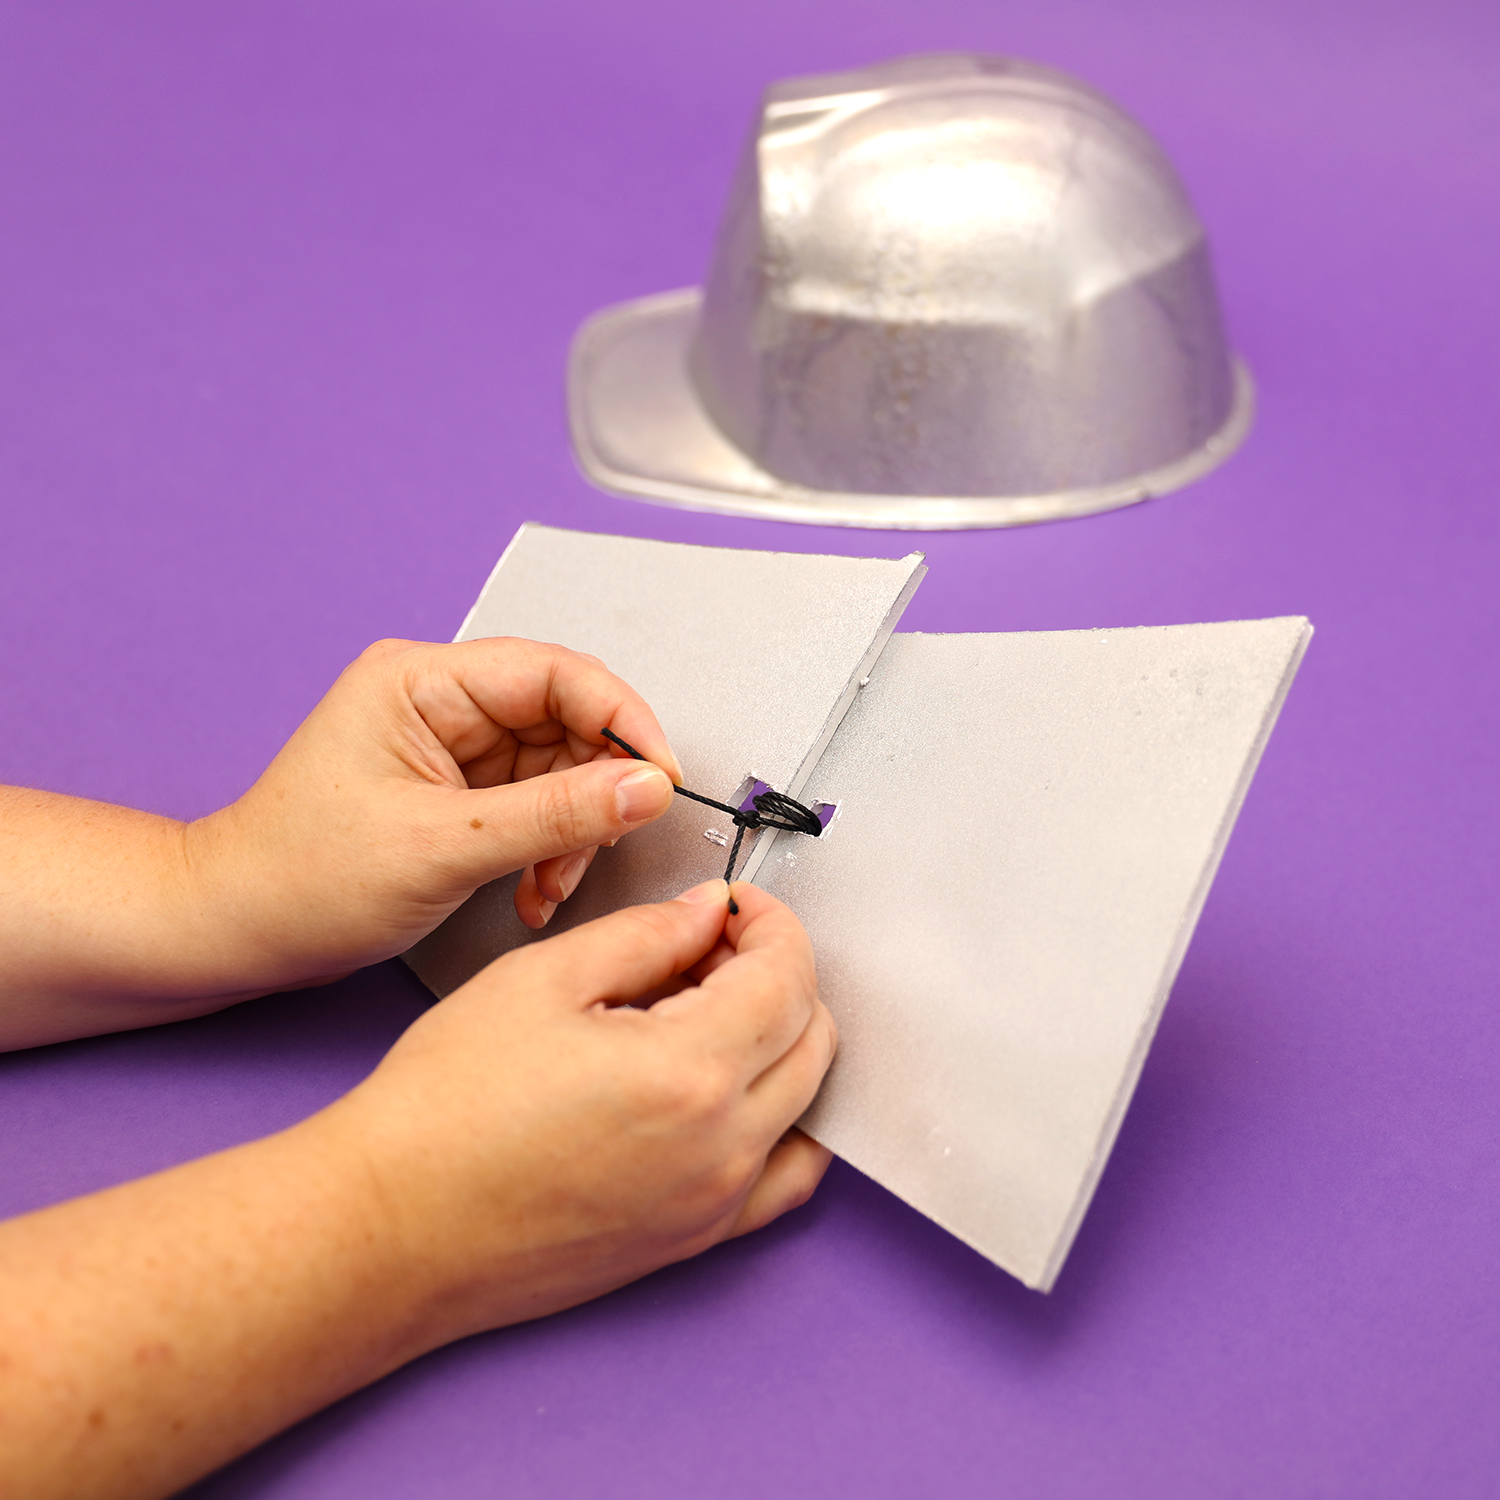
Step Two: Sketch the helmet pieces on foam core board for Shredder’s mask! You can cut separate pieces and thread them together (as shown) to give the mask a layered look.
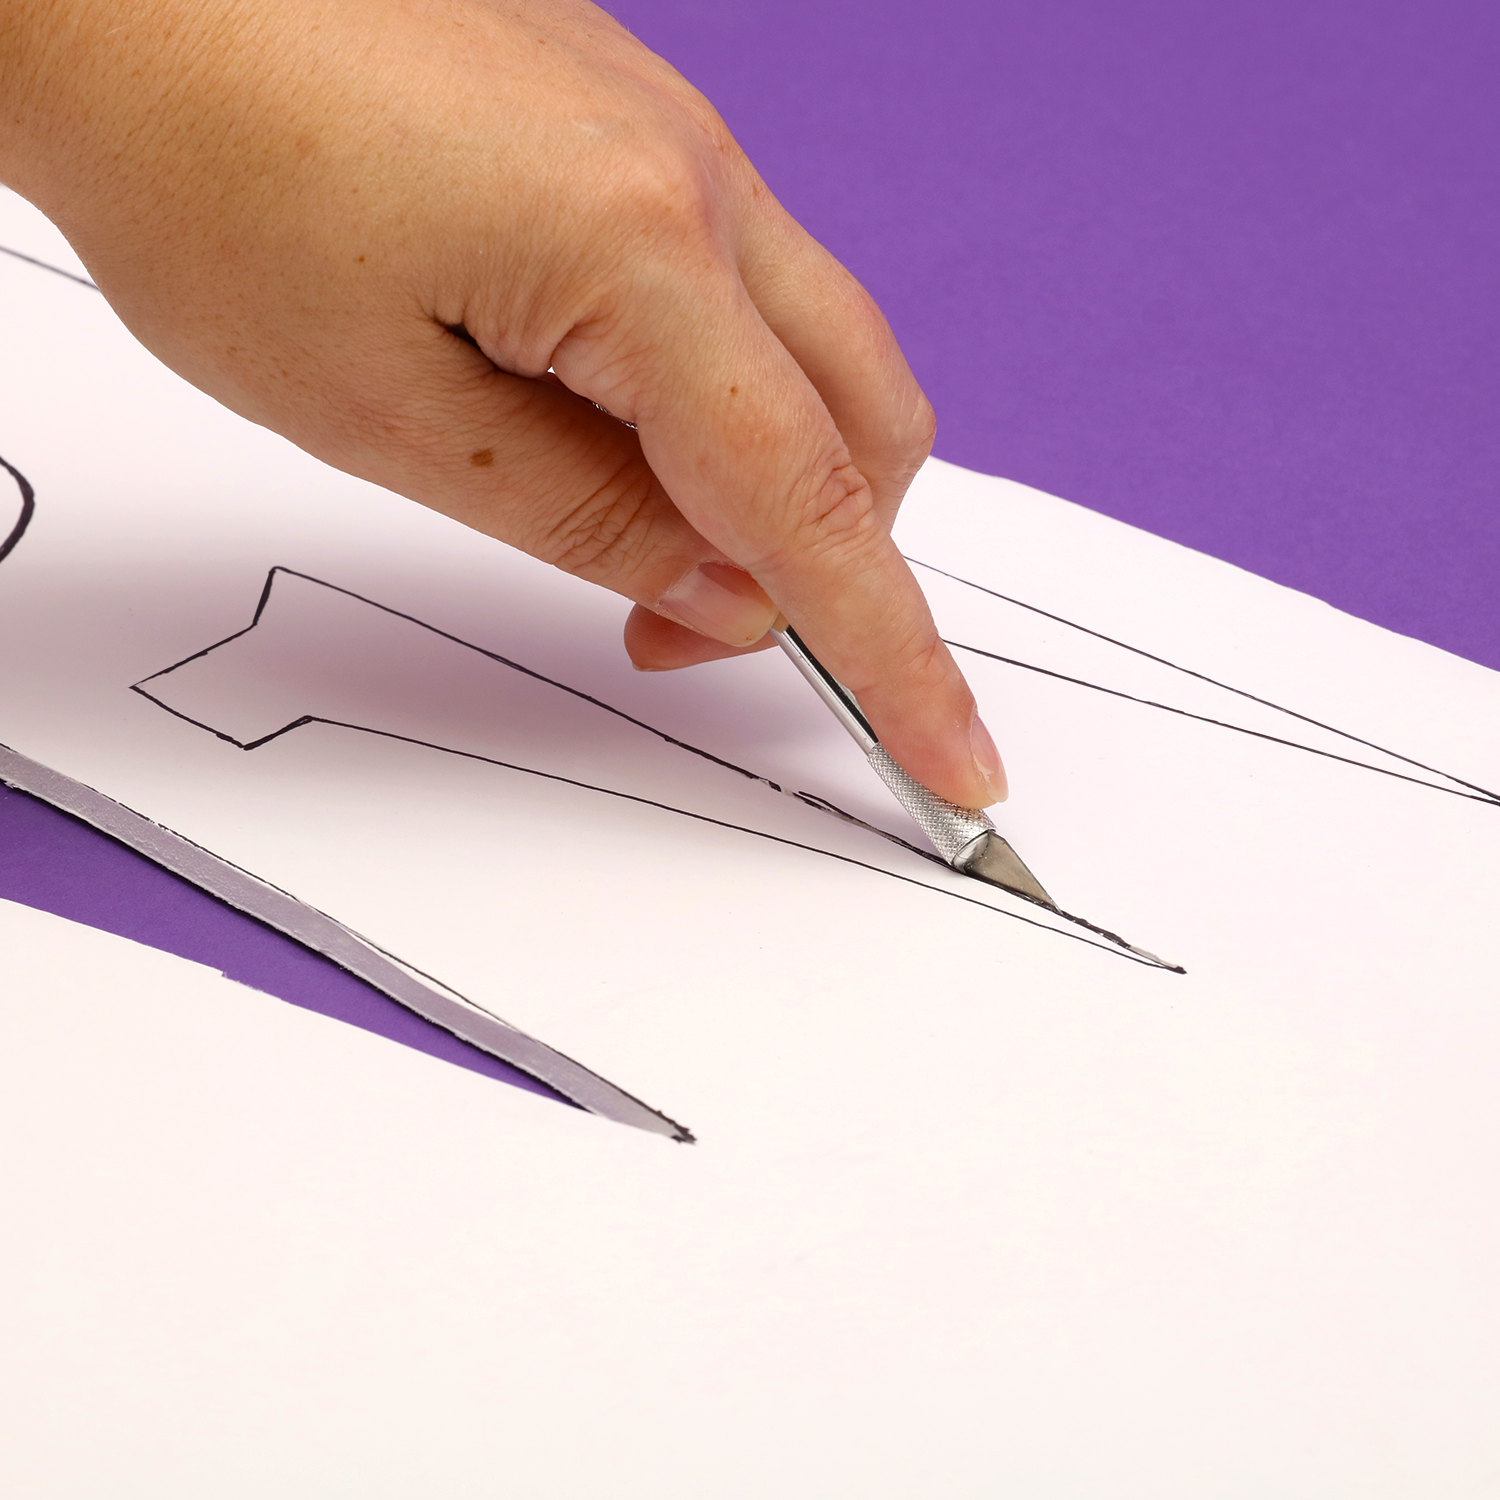
Step Three: Cut the pieces out from the foam board. Be careful not to shred any skin!
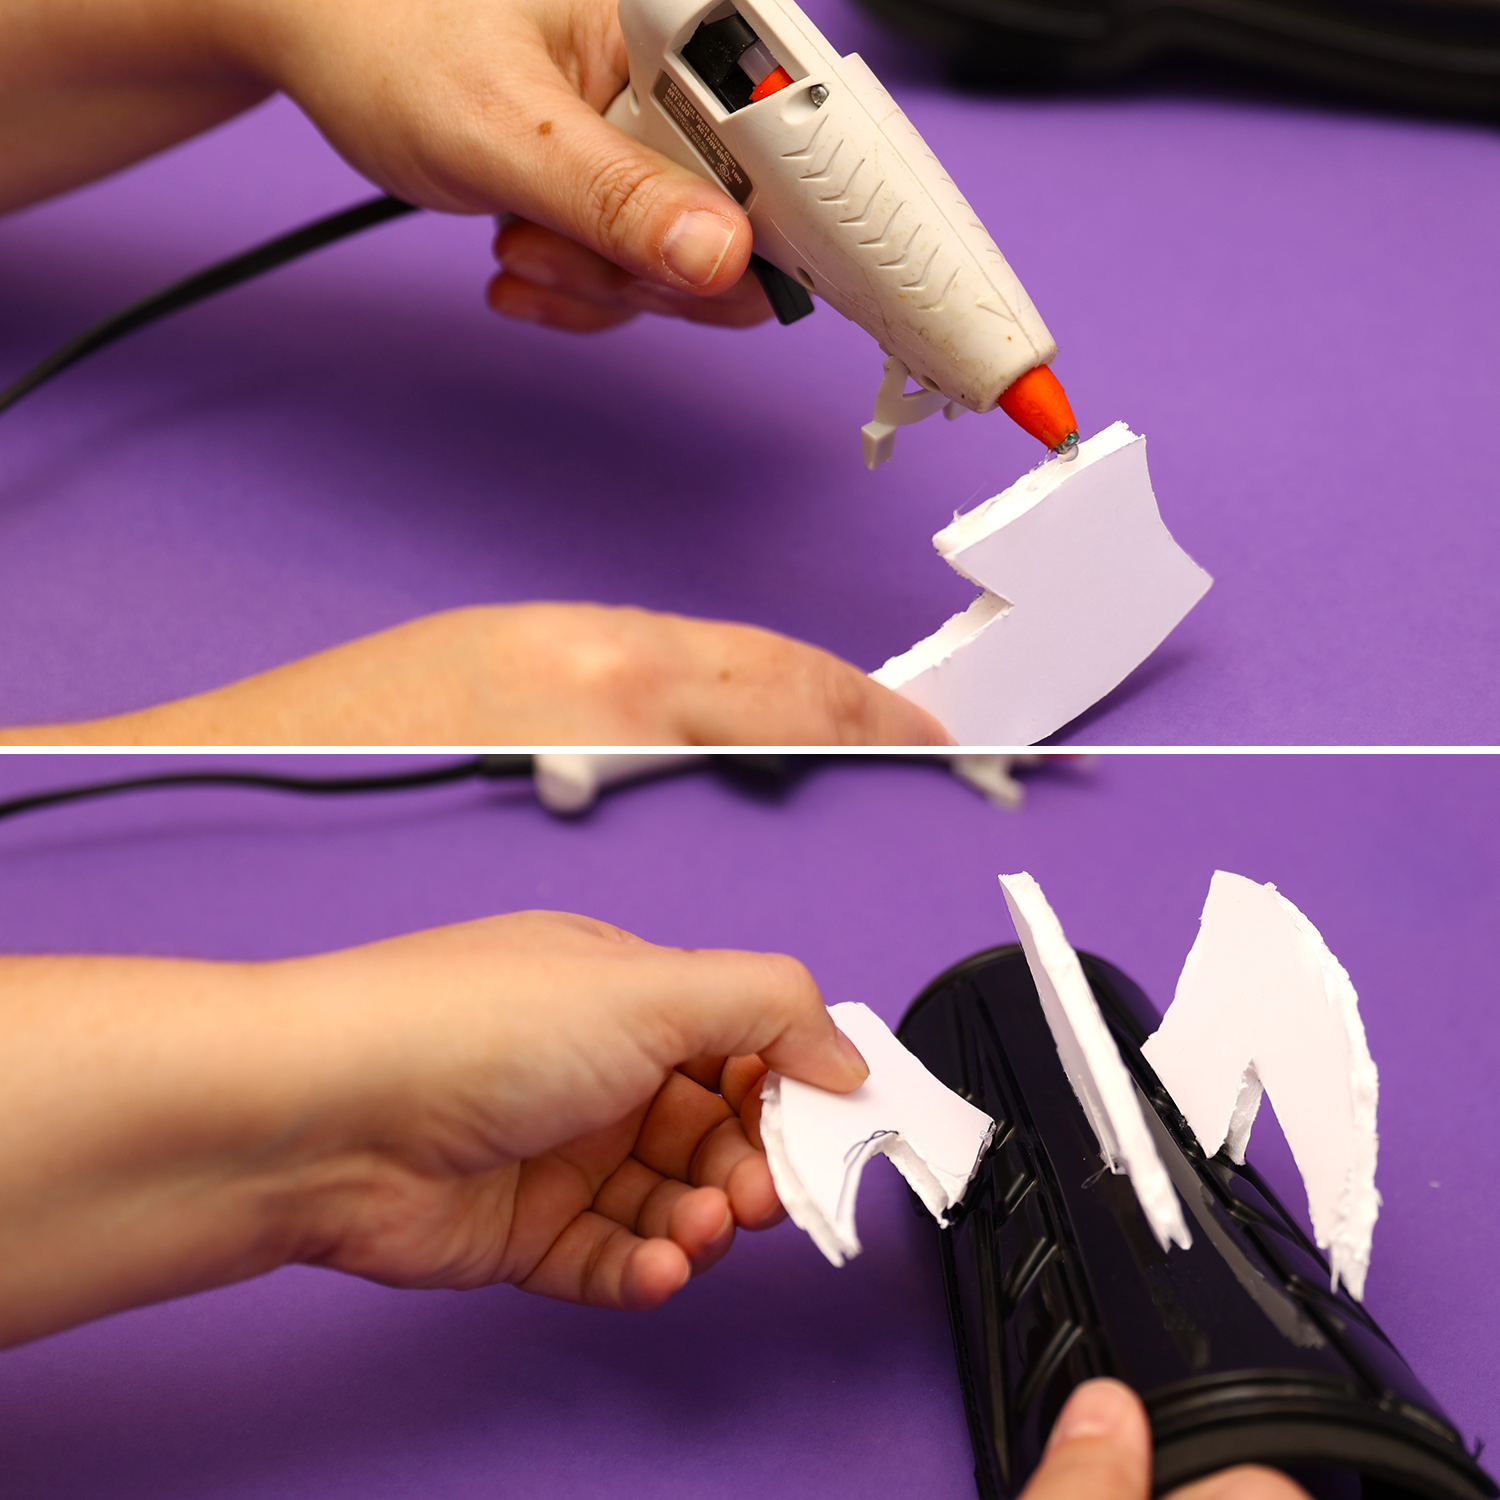
Step Four: Go ahead and glue the spikes to the armor. What good is armor without spikes?
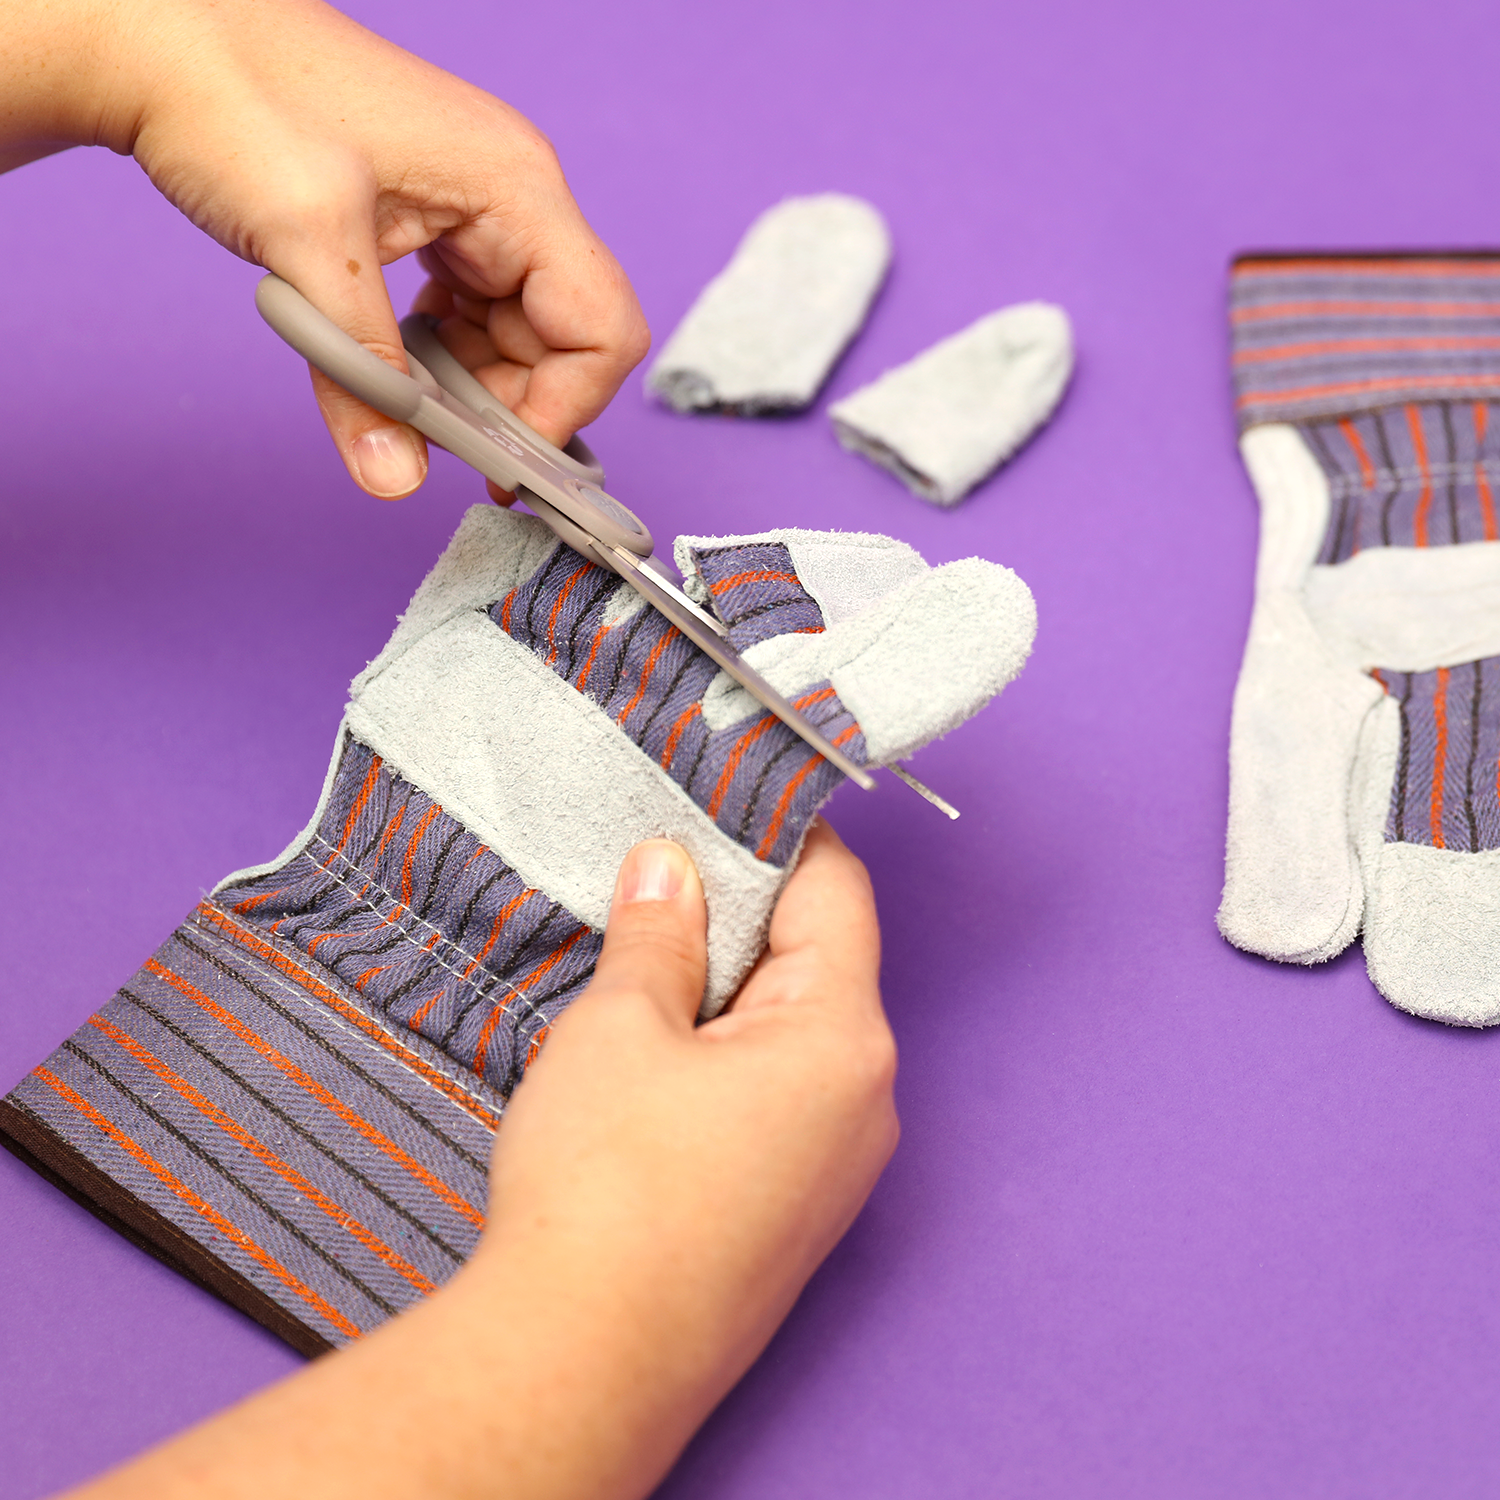
Step Five: Cut the fingers off the construction gloves. You won’t be needing those, plus it will make it easier to rip open candy wrappers.
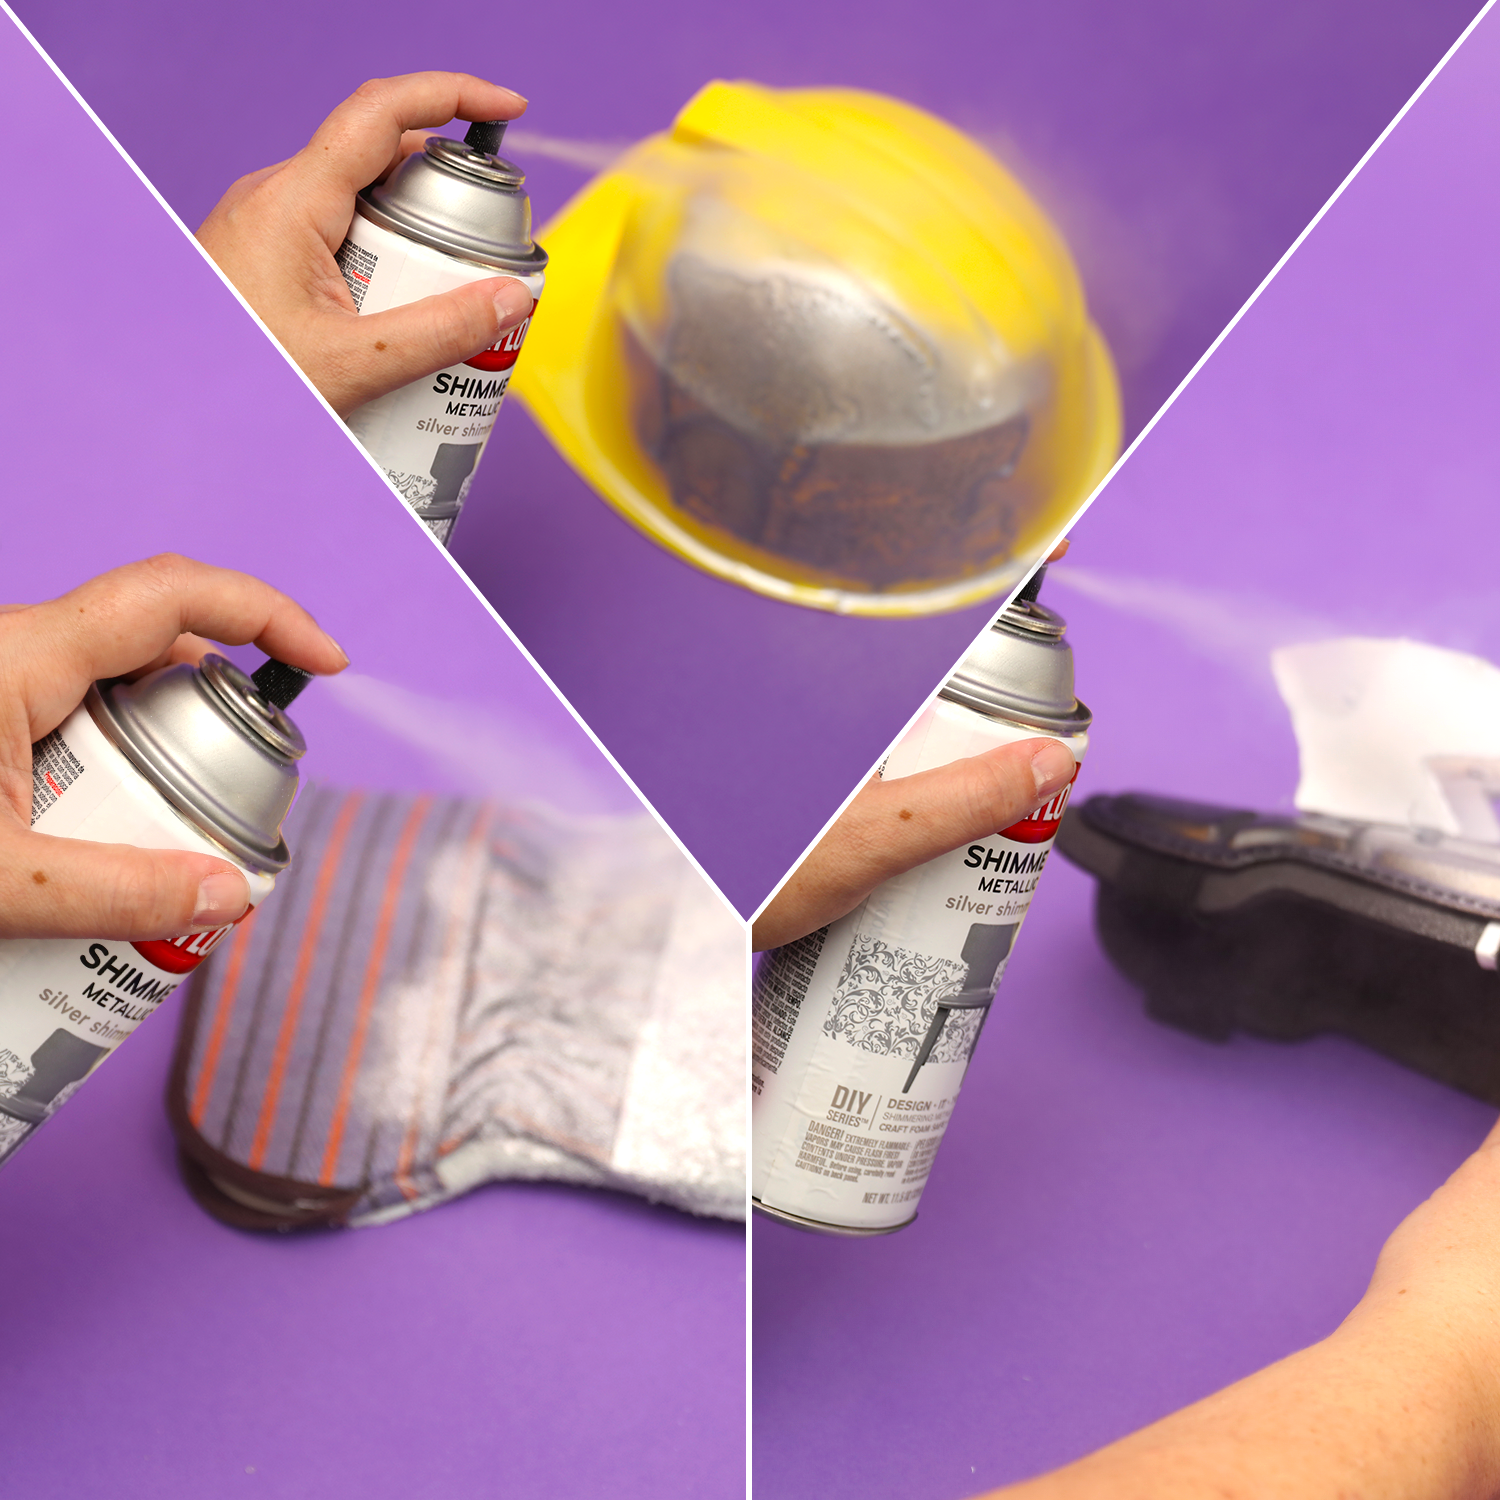
Step Six: Spray paint everything silver! Allow paint to dry.
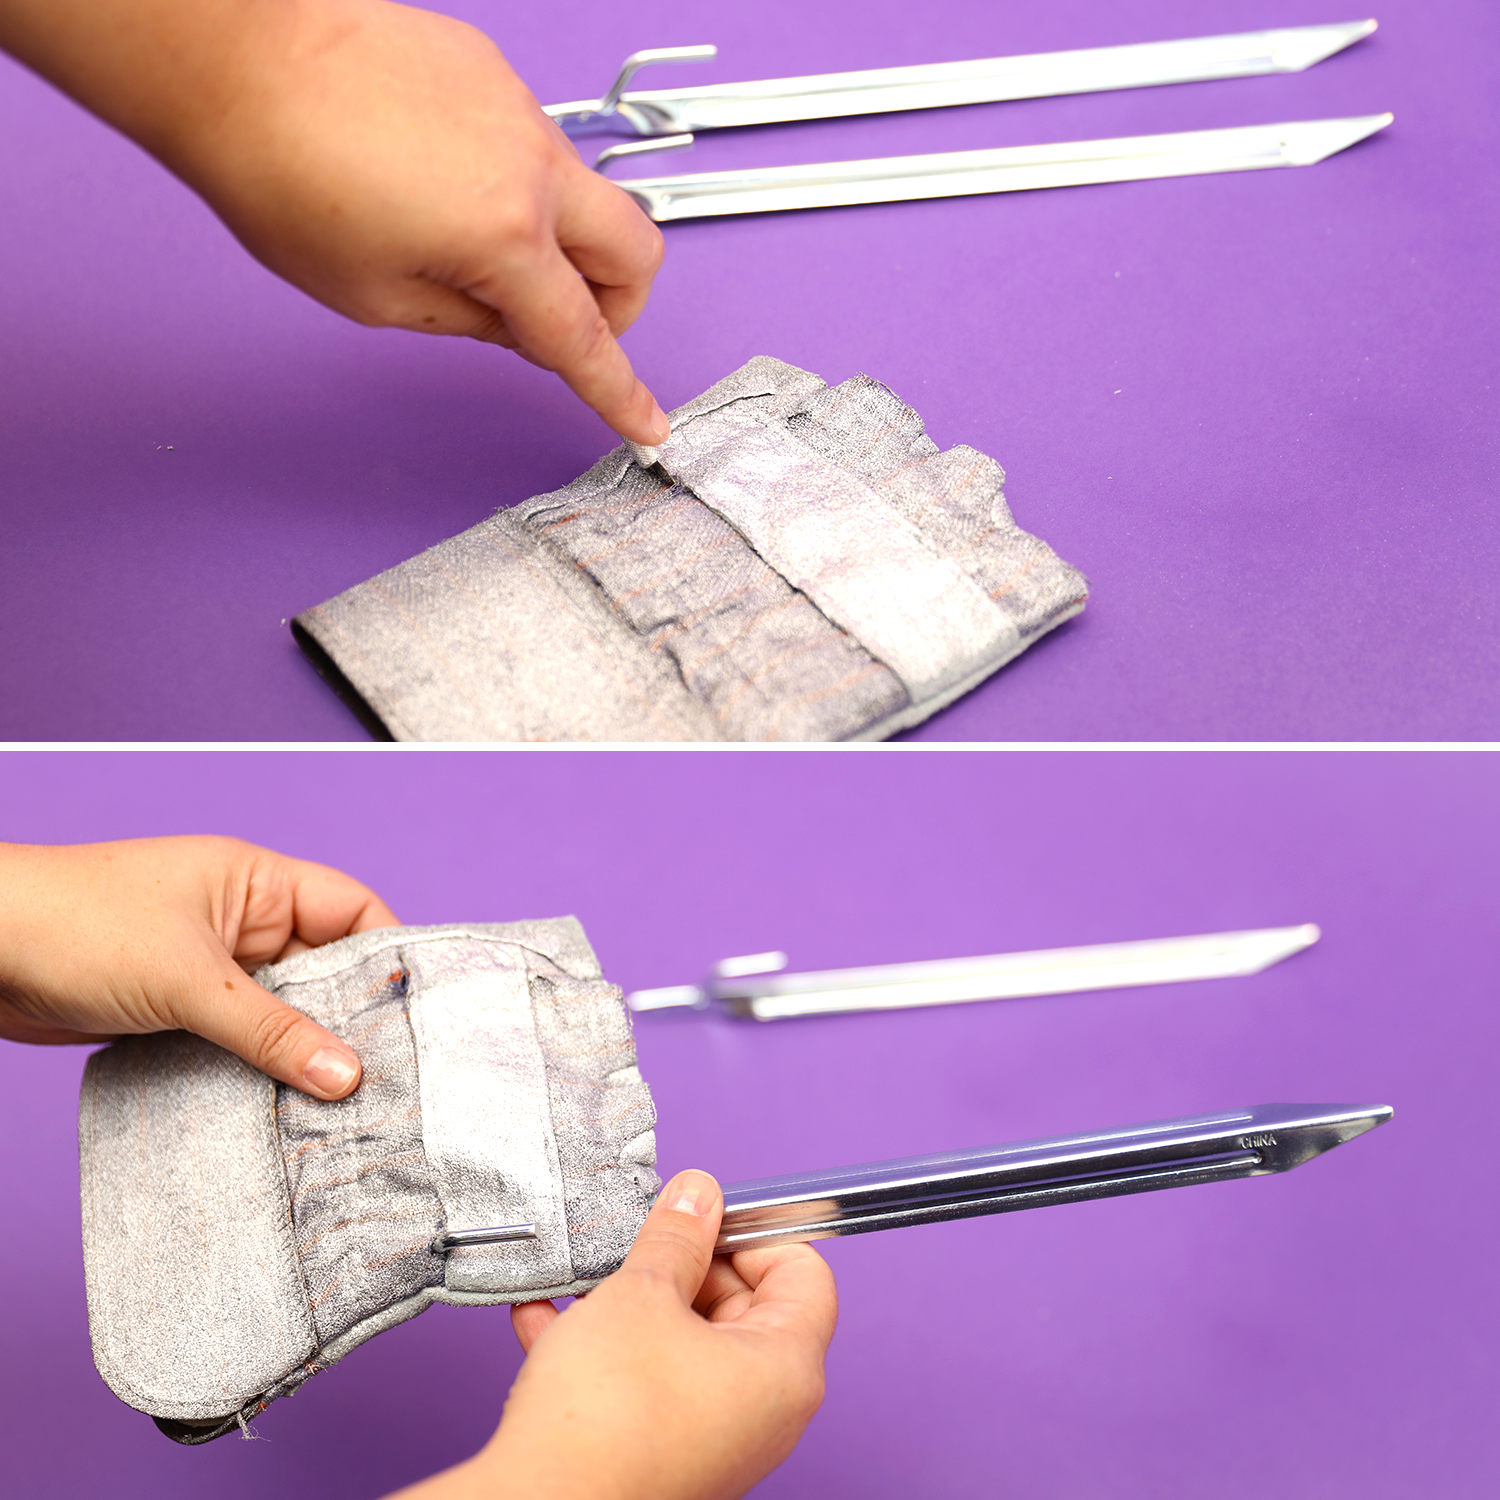
Step Seven: Once the paint is dry, cut two holes in each glove for where you want the claws (tent spikes) to come through. Over the knuckle of your index and pinky fingers are good options.
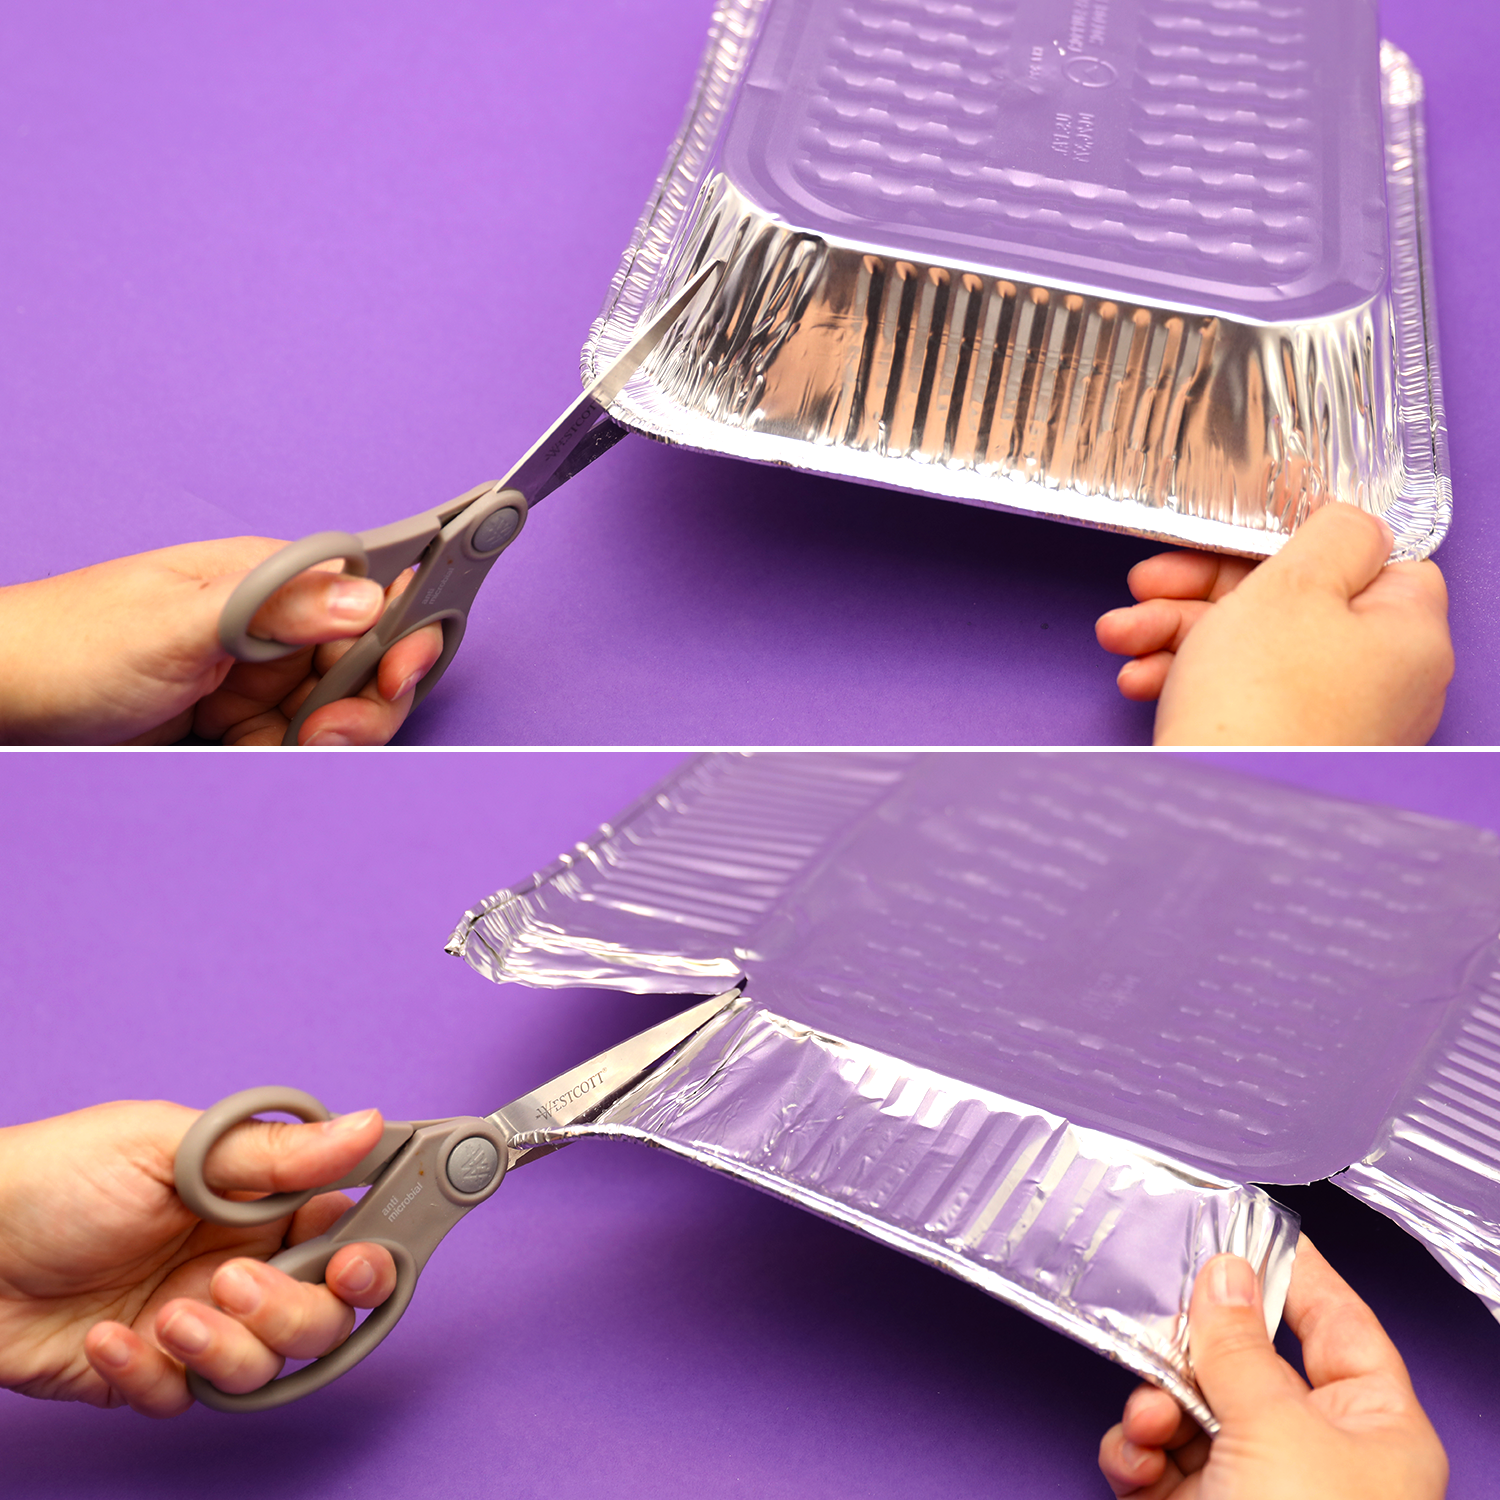
Step Eight: To make the chest plate, cut the corners of a baking pan so the edges can lay flat. Then poke holes in the top to thread the string through so that it will hang around the neck and over the chest.
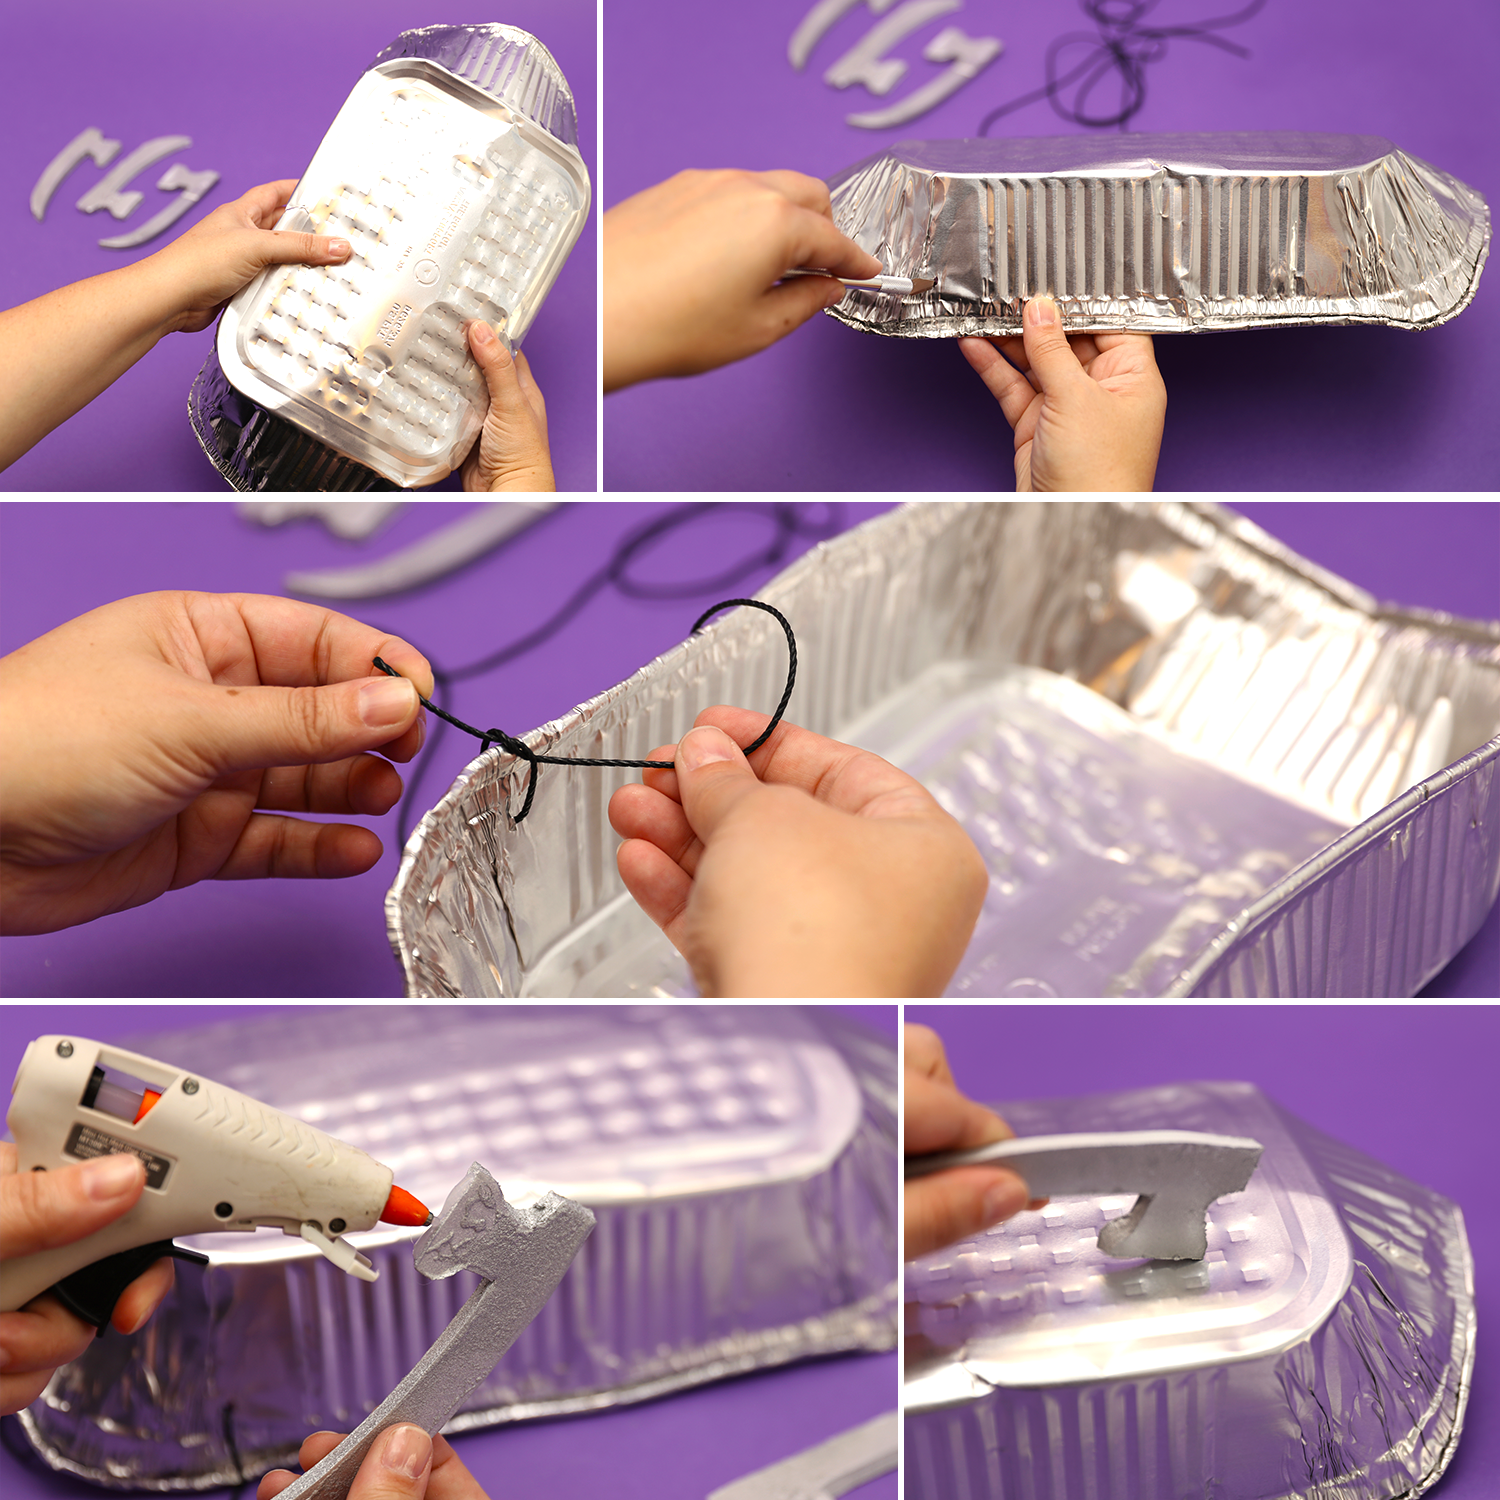
Step Nine: The shin armor can also be made from baking pans! Cut holes in each corner to thread the string through, which allows you to tie the armor around the legs. Then bend the pan to fit the form of your kid’s leg, and glue on more spikes.
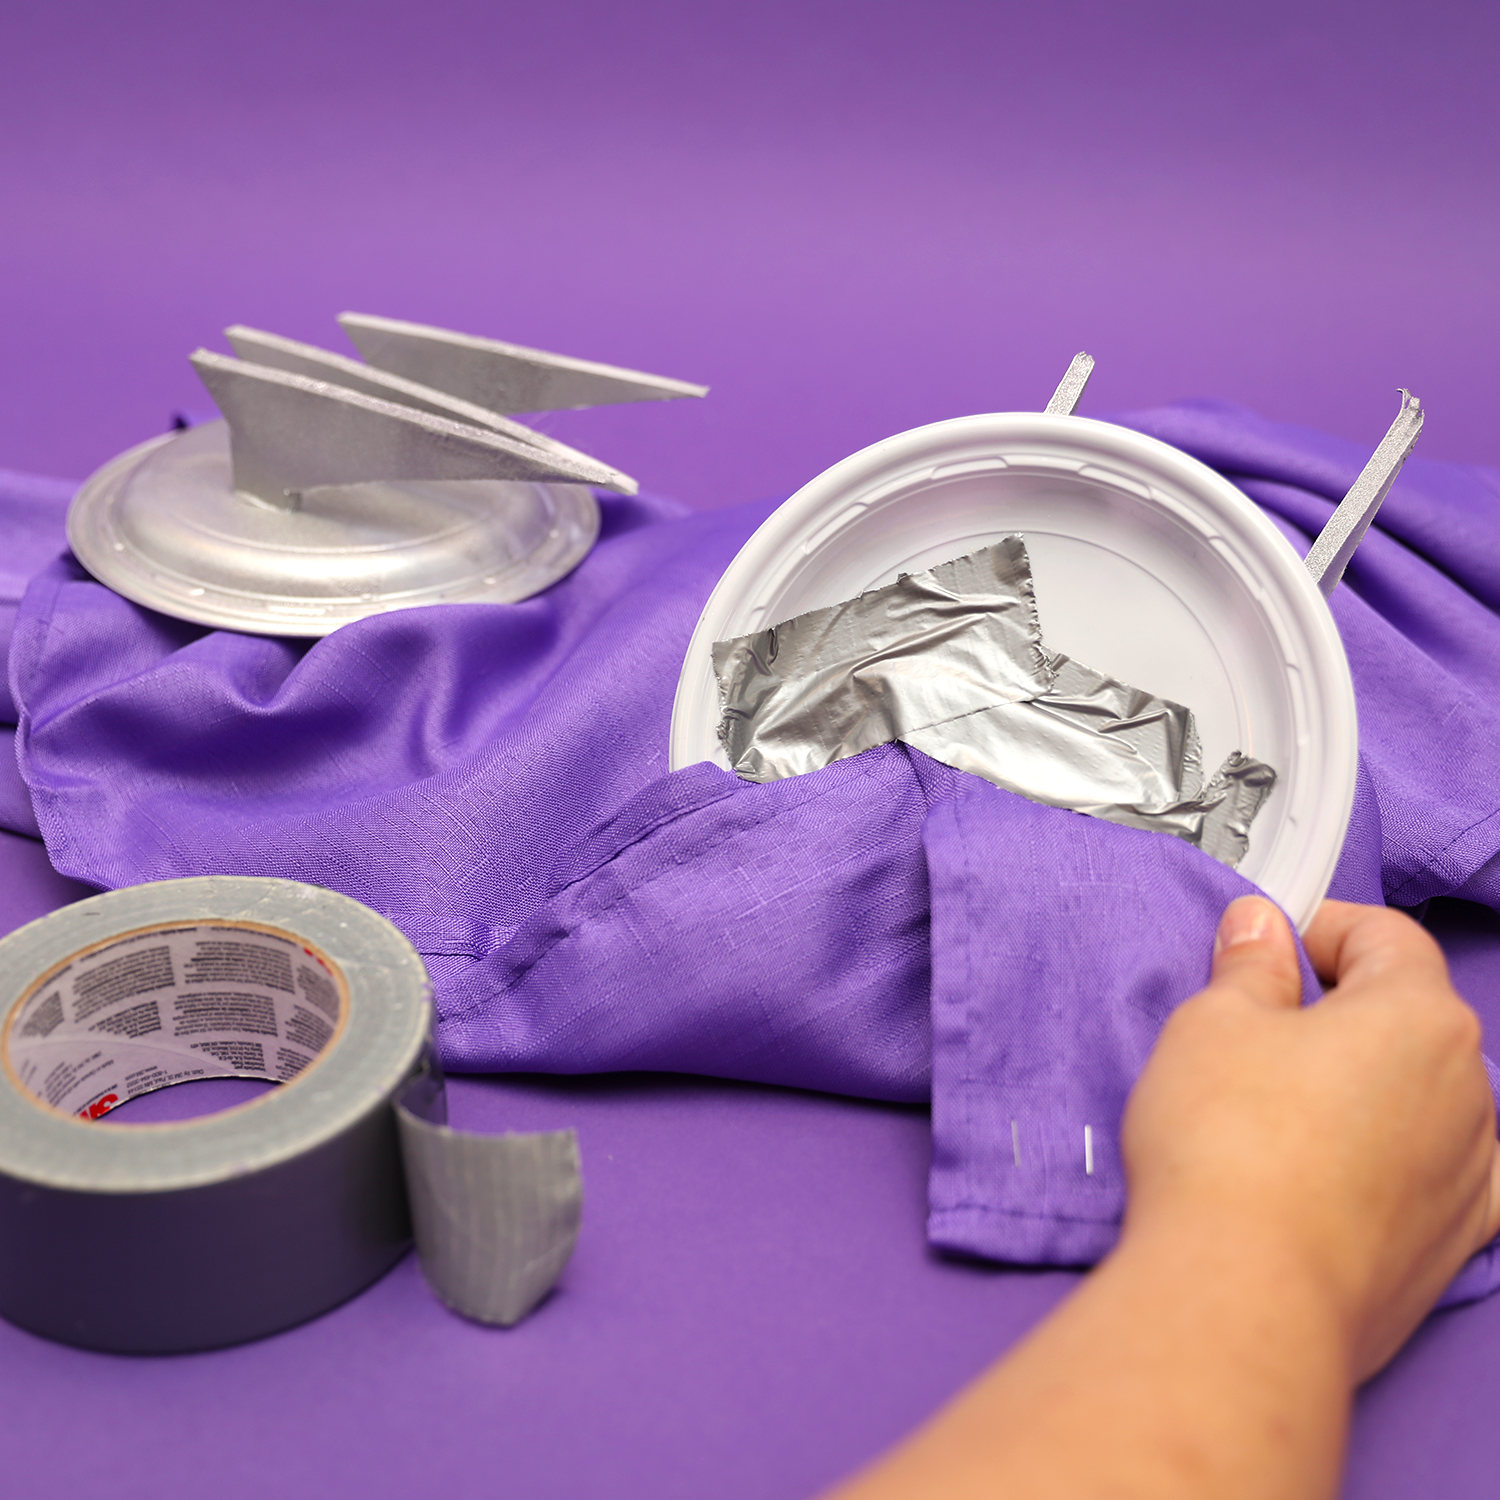
Step Ten: To assemble the shoulder armor, attach the paper plate to the tablecloth (which will serve at the cape), and add the spikes! We found duct tape to be the best tool for fastening these.
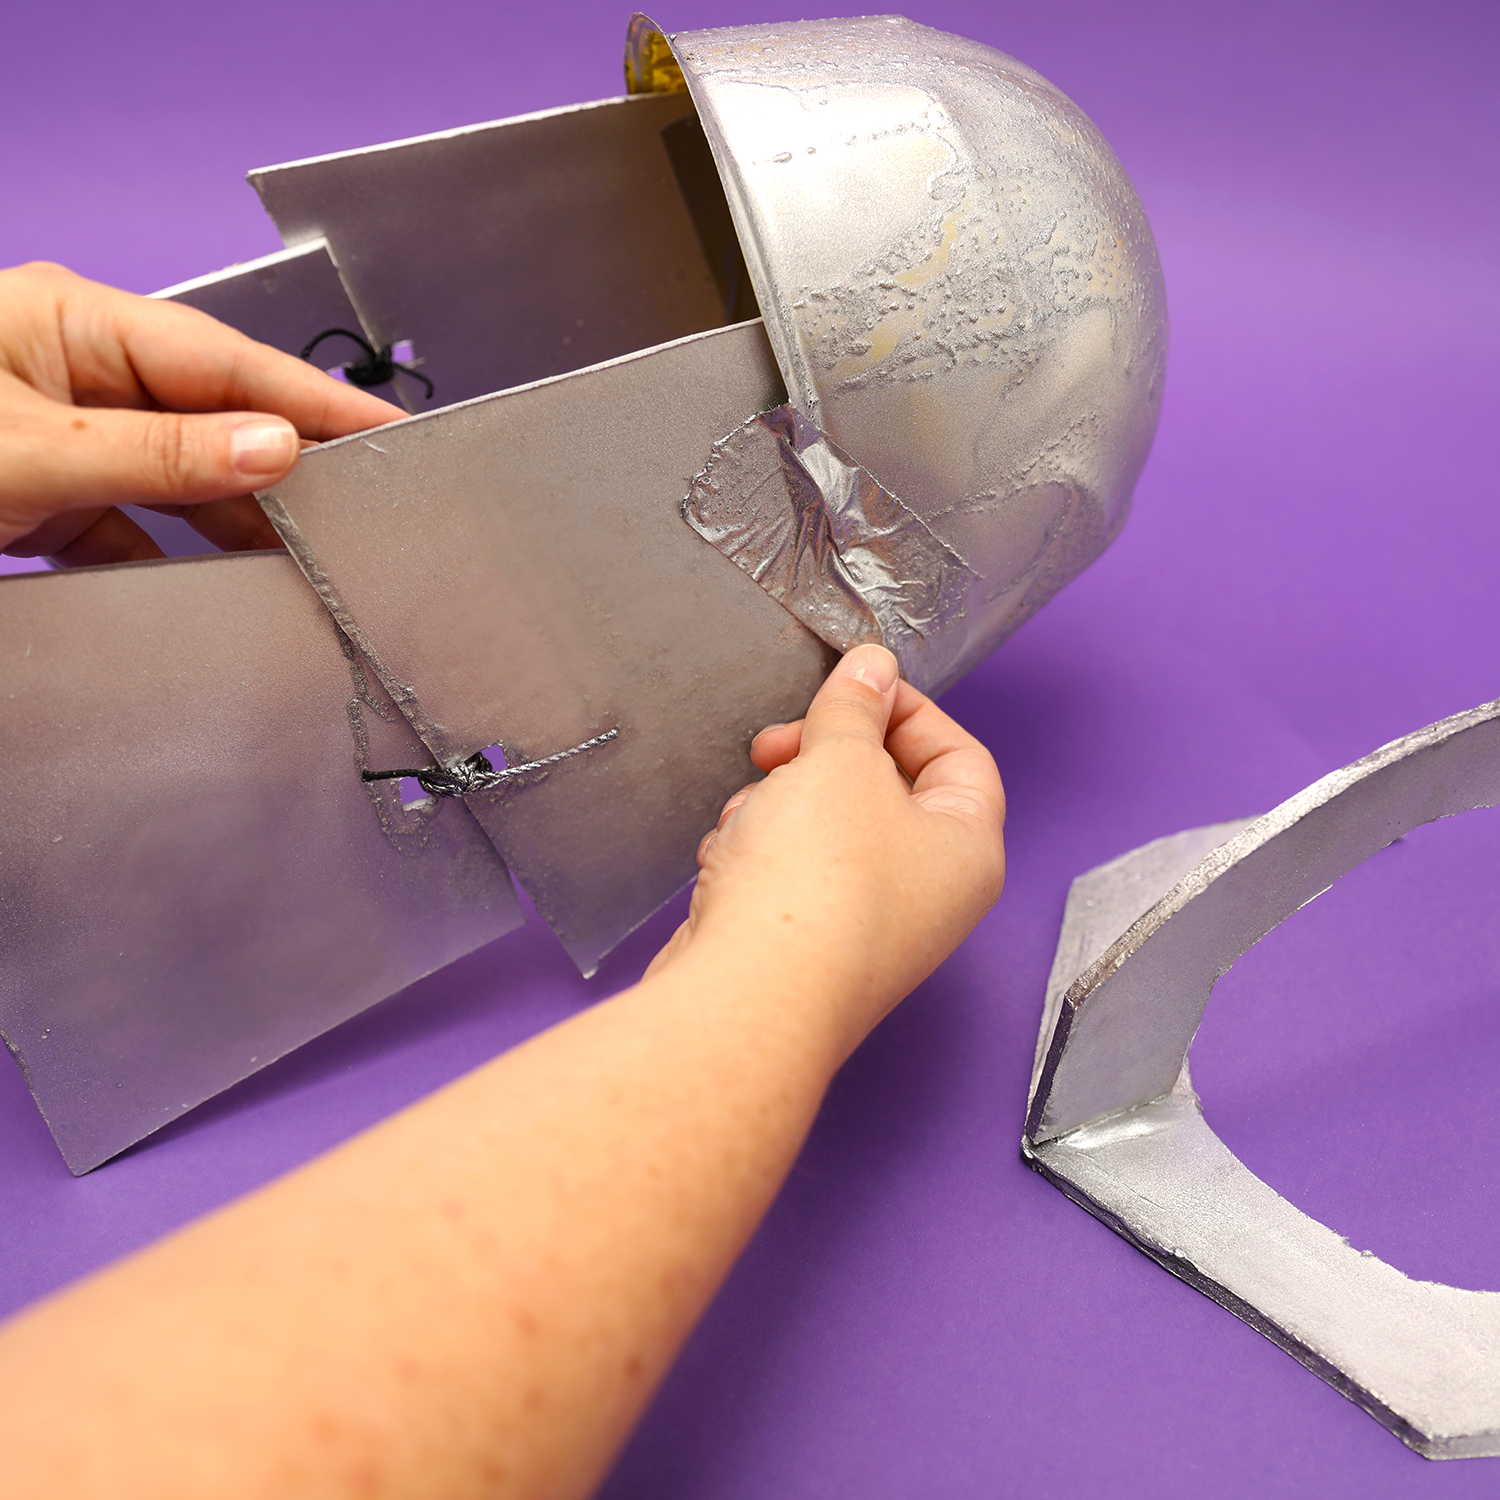
Step Eleven: Lastly, it’s time to assemble the helmet! A combination of glue and duct tape is best, here, to ensure everything stays in place.
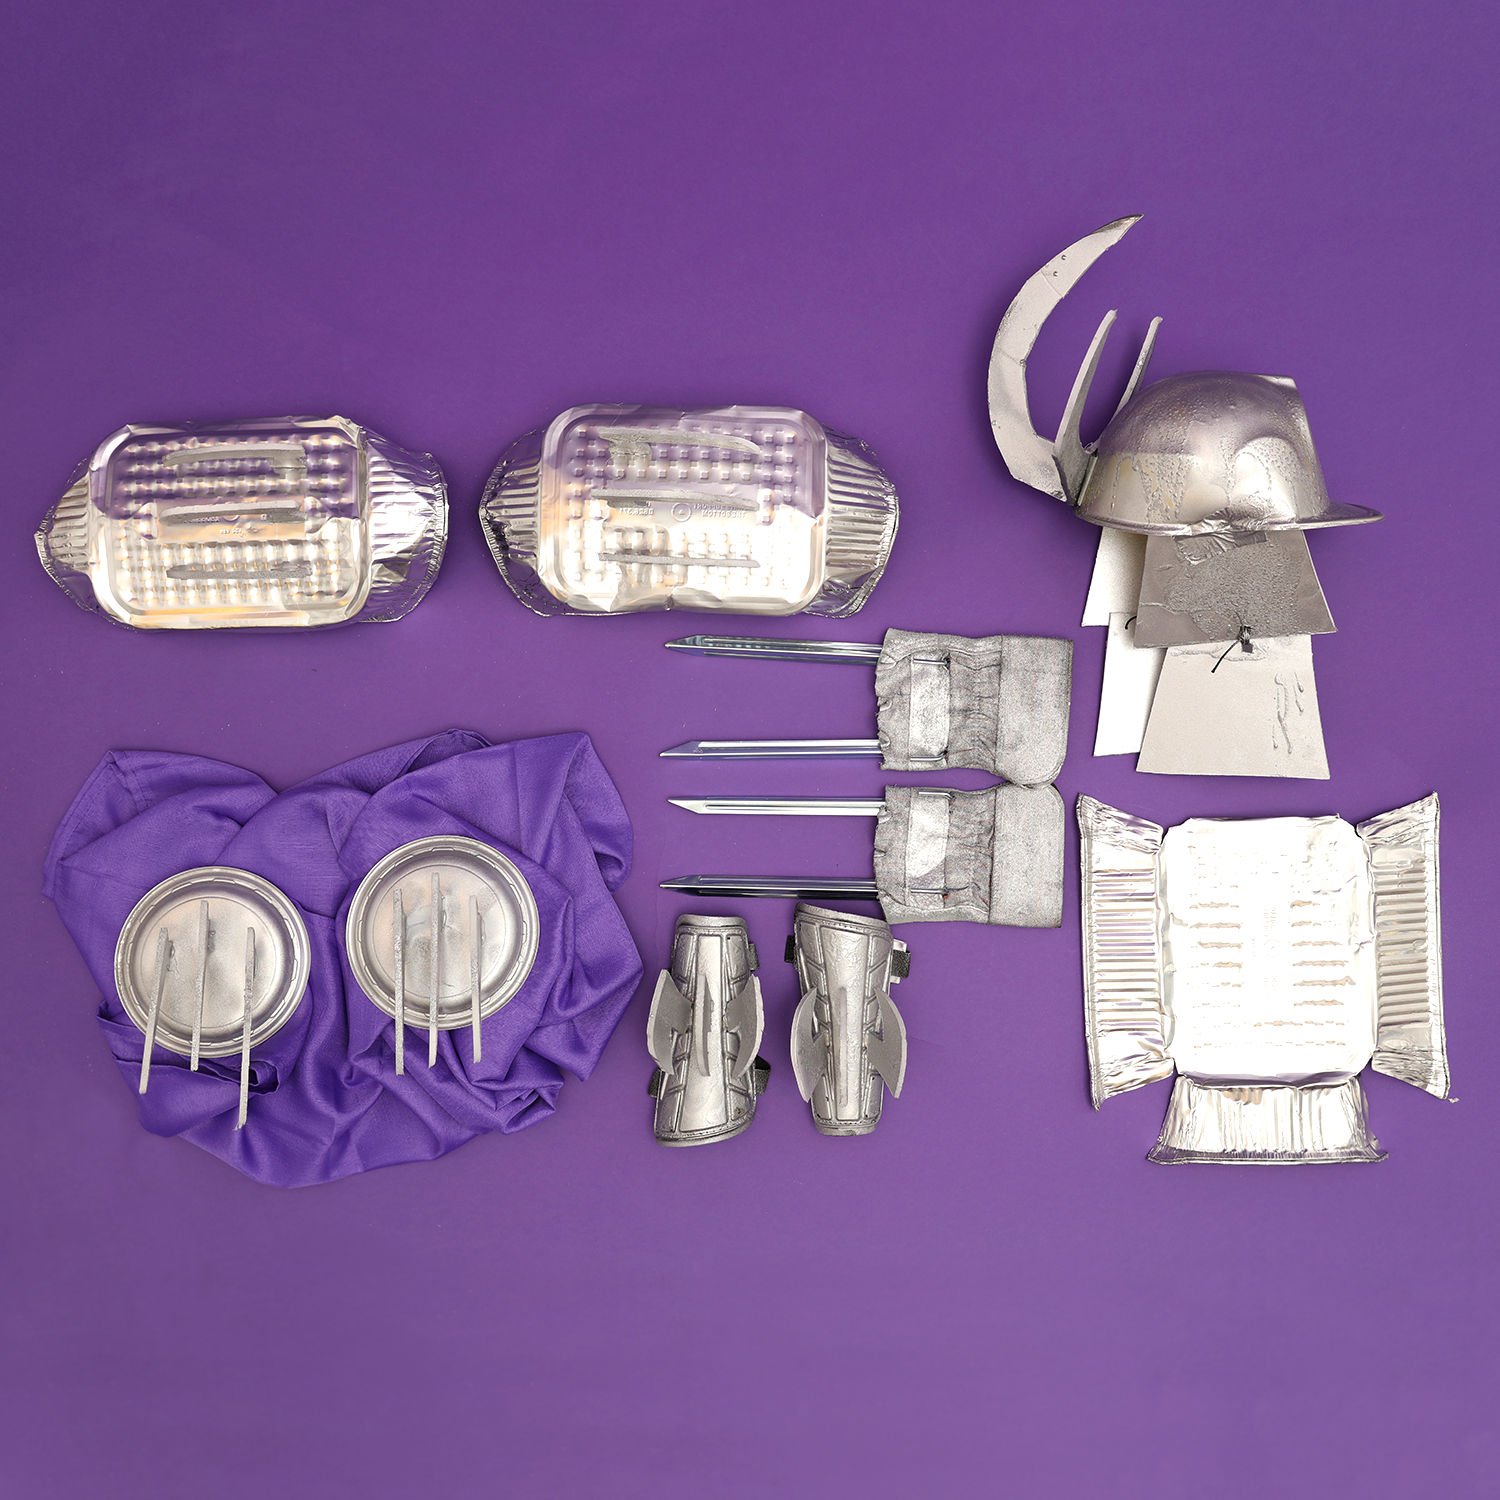
Now all that’s left is to suit up and shred some candy wrappers!
Tear through that tutorial with spooky awesome ninja skills. Whether you make it as a surprise or during a family craft night, this Shredder costume will mutate this Halloween into a day you and your kids will never forget. After you’ve successfully put a huge smile on everyone’s face, snap a photo and show us how Cowabunga-crafty you are!


