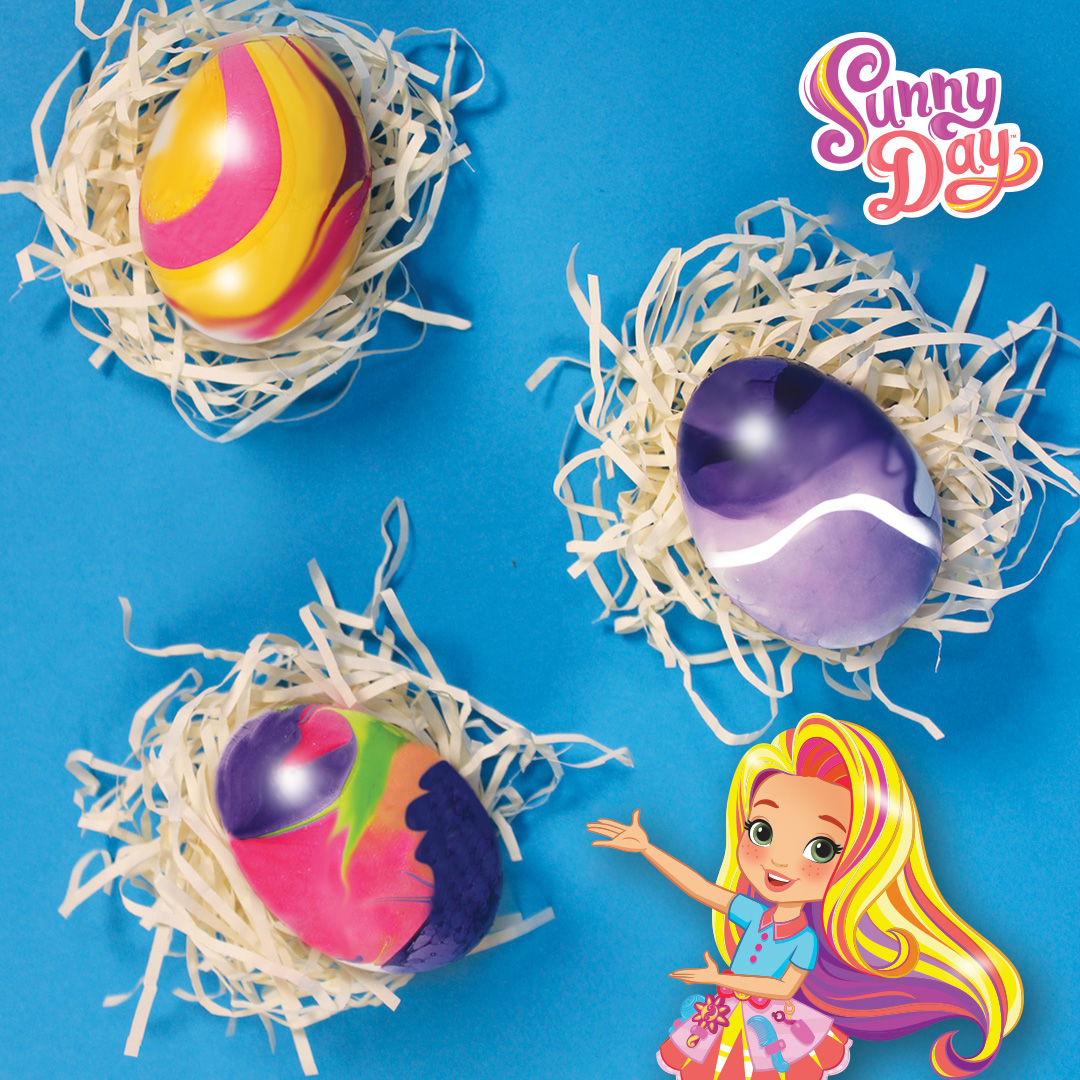
“What do we do now?” says your kid after they eagerly dump all their prepped Easter egg into a cup of dye and vinegar. Half the time, they’re too excited to wait for their masterpiece to dry and take on a bright, springtime color. For a more interactive approach to this timeless craft, ditch the traditional egg dying kits and grab some nail polish! You and your aspiring stylist can recreate these marbled Easter eggs inspired by Sunny Day and her BFFs Blair and Rox!
Difficulty Level: Medium
What You’ll Need:
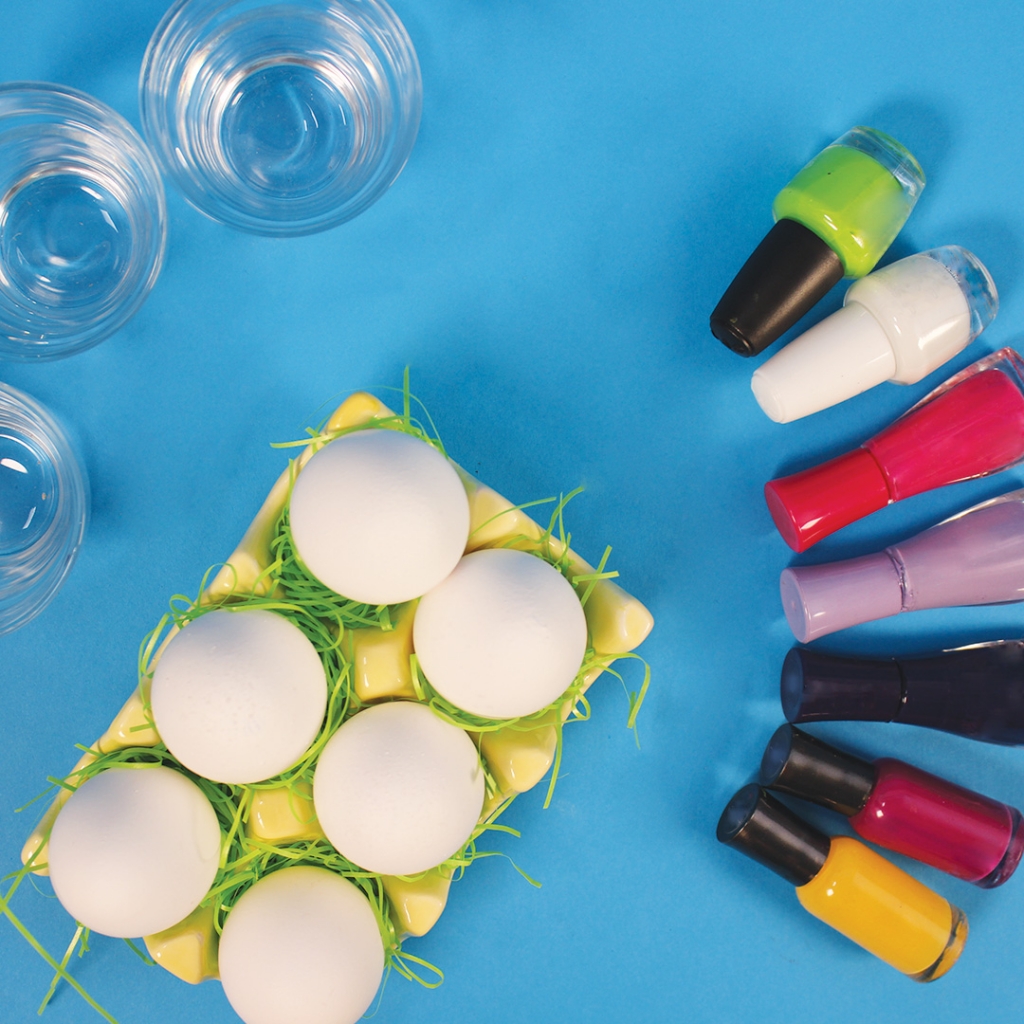
- 12+ Eggs
- 1 Pin
- small bowls, large enough to fit one side of an egg
- An egg carton
- Room temperature water
- Nail polish*
- Nail polish remover
*Recommended Colors:
- For Sunny: yellow, pink, magenta
- For Rox: magenta, deep purple, lime green
- For Blair: deep purple, lavender, and white
How to Make:
Step One: Hollow out the eggs by poking a small hole in the top and bottom of the egg with the pin. Drain and let dry.
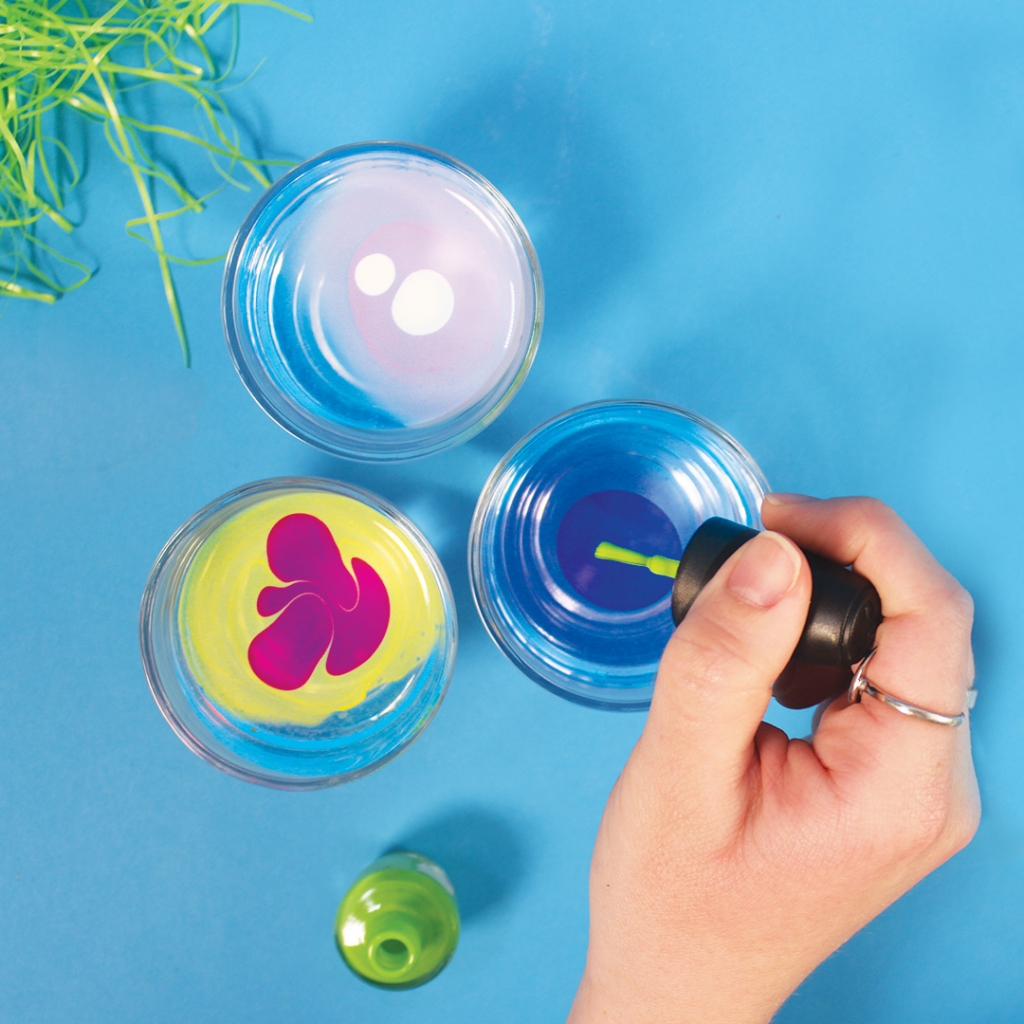
Step Two: Fill up your small bowls with room temperature water and gently drop nail polish in one drip at a time. Once the color spreads to the full trim of the bowl, repeat the drip processes with other colors of your choice.
Step Three: (Warning, hands will get messy! You can wear plastic gloves, but they may interfere with your design. Bare hands are recommended.**) Lengthwise, dip an egg into one of the bowls to cover one half of the egg. Leave it submerged for a few seconds, then slowly rotate the egg 180 degrees before taking it out of the bowl.
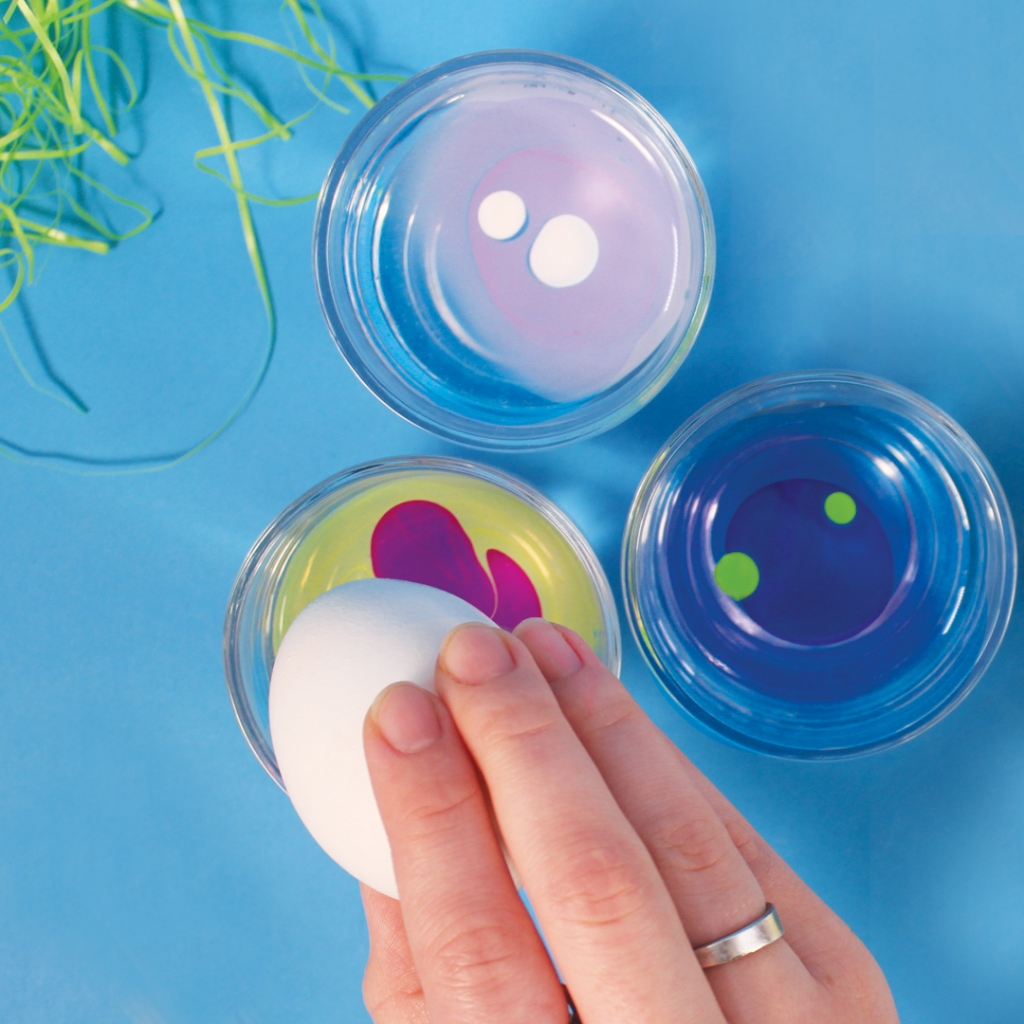
Step Four: Place the egg in the egg carton to dry for at least 10 minutes.
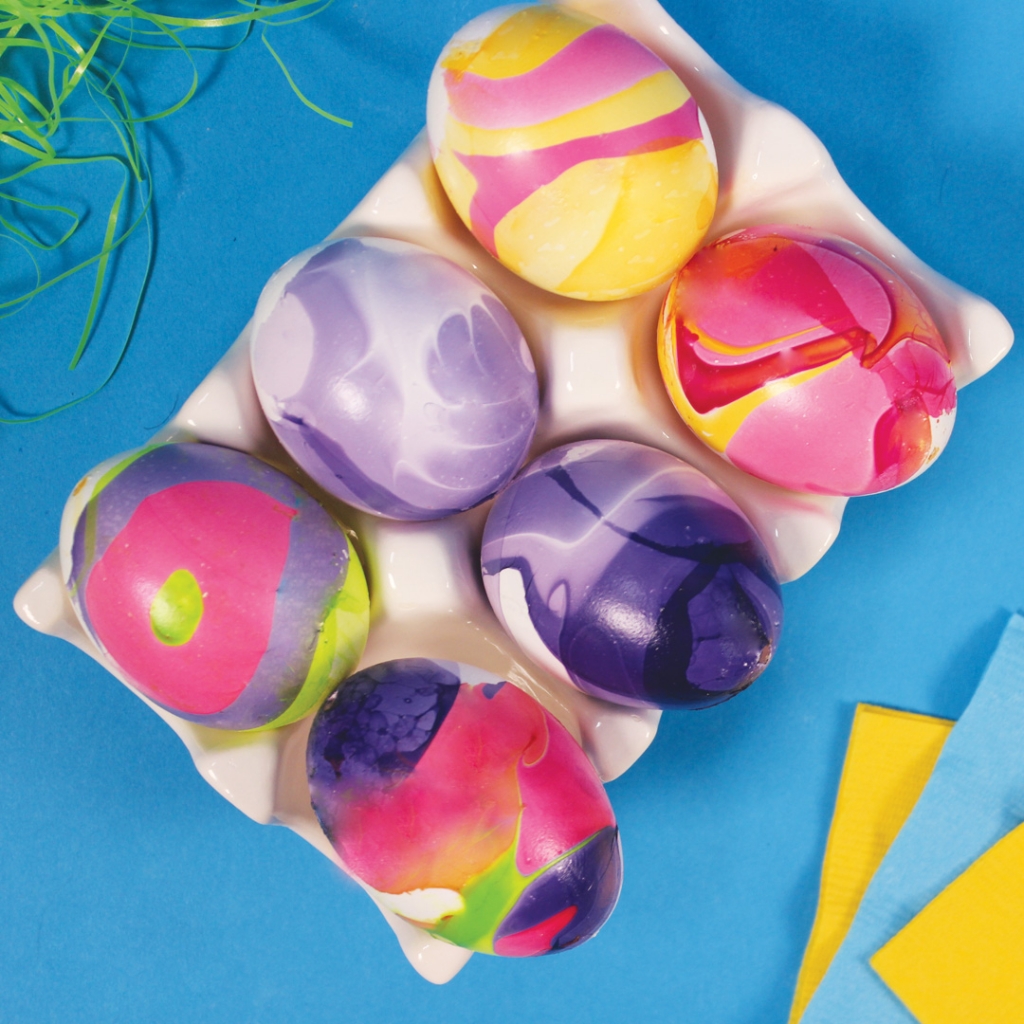
Step Five: Repeat the drip, dip, and dry process until all your eggs are bright and Sunny!
**To remove nail polish from skin, first soak hands in warm water. Then, damped a cotton ball with nail polish remover and gently rub skin until the polish comes off.
Watch more Nick Jr.! View the TV schedule here.


