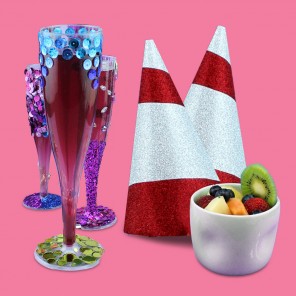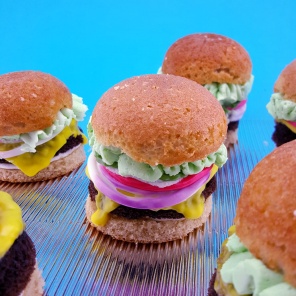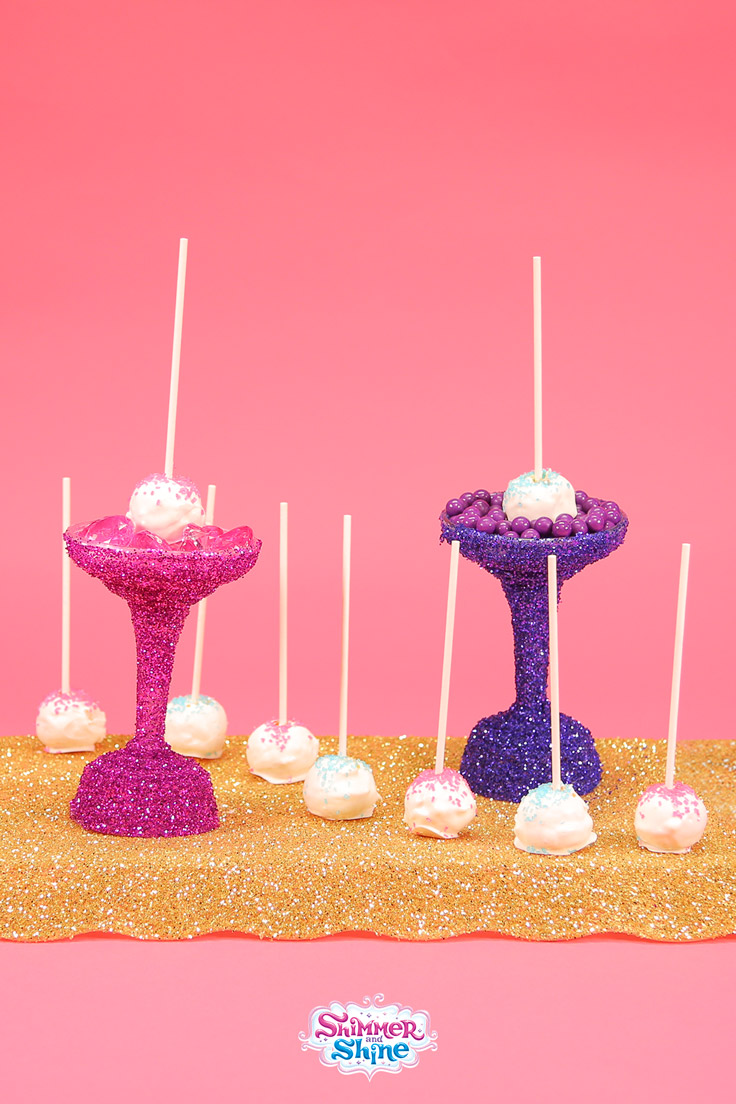
Not quite cake, not quite a lollipop, these Shimmer and Shine treats are a both a wish and a mishap that turned out great!
(Difficulty Level: Medium)
What You’ll Need
Pink sparkly sprinkles
Blue sparkly sprinkles
1 box cake mix of desired flavor
1 tub of frosting
1 bag Wilton’s bright white candy melts
Candy thermometer
Lollipop sticks
Ice cream scoop
Parchment paper
Styrofoam block (if making lollipop-style pops)
Cookie sheet or large tray
Horizontal space in the freezer to freeze formed cake balls for 1 hour
Horizontal or vertical space in the fridge to chill cake balls/pops levely
How to Make
You can use inexpensive silicone cake ball molds, which will make the cake balls airier and more imperfectly-shaped. Bake the cake mix in these molds according to box and mold instructions. Allow baked cake balls to cool completely.
You can also mold the cake balls by hand, which takes just about as much time as the above method. Bake your cake mix in whatever sized pan you’d like, according to box instructions. Once the cake has cooled completely, get ready to dig in and get your hands dirty!
You can also use leftover cake tops/scraps from other baking projects.
For the Cake Pops
Step One: Wash your hands thoroughly and wear vinyl gloves if you have long nails, are wearing nail polish, or don’t like the feeling of mushing food by hand.
Step Two: Lay out your cookie sheet or tray and line with parchment paper. The tray should be able to fit in your freezer for an hour.
Step Three: In a large bowl, crumble your baked cake into fine crumbs. Using a mixer or other instrument may cause the cake to become overmixed and mushy/clumpy, so doing this by hand is advised.
Step Four: After crumbling the cake entirely, add 1/3 or less of the tub of frosting to the crumbs. Remember that it’s better to start with too little frosting and gradually increase the amount. You want enough frosting in the mixture that everything sticks together, but not so much that it’s a big mushy mess.
Step Five: Using the ice cream scoop for size consistency, scoop out some of the cake ball “batter” and pack it into a tight ball using your hands, making sure not to leave any cracks or crumbs on the balls so that the candy coating will be smooth.
Step Six: Once you have formed enough smooth, consistent cake balls (with several extras just in case), place the tray in the freezer for at least an hour.
Step Seven: After an hour has elapsed, remove the tray of formed cake balls and let them thaw and expand for about 10 minutes while you prepare the chocolate melts.*
Step Eight: Take a lollipop stick and dip it into the melted chocolate so that there is a generous, Q-tip like amount on the end of it. Push this end about halfway into the cake ball. The chocolate will form a fat ring around the puncture; smooth it down with a finger. Lay the cake pop back on the tray. You don’t have to be careful about the cake ball squashing, as it’s very firm at this stage.
Step Nine: Insert sticks into the remaining cake balls and lay them all back on the tray. Put the tray in the fridge to chill and harden for 15-30 minutes.
For the Presentation
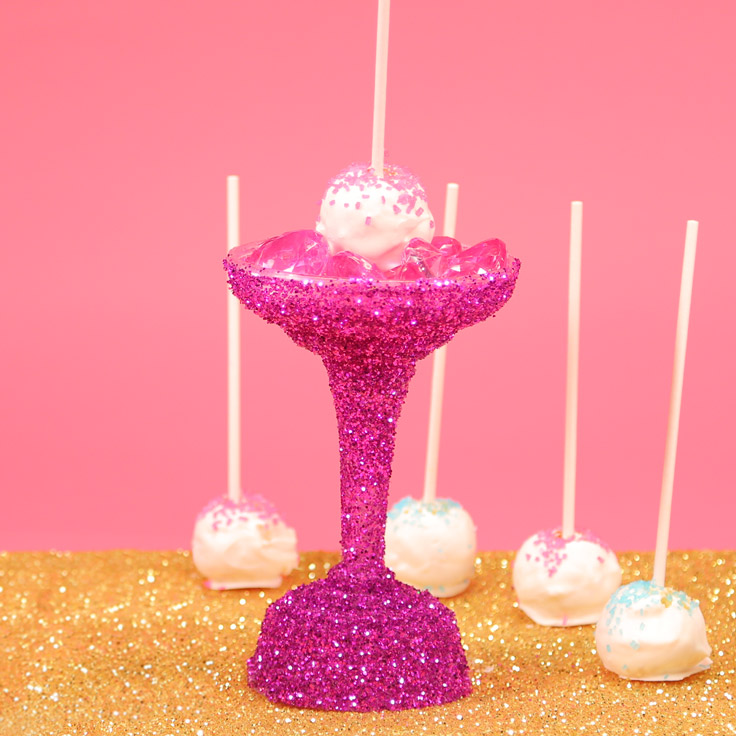
Step One: Decide if you would like your cake pops to have the stick facing down, lollipop style, or facing up, so that the cake ball sits on the surface.
Step Two: Prepare your sprinkling station by pouring some pink sparkle sprinkles in a small bowl and some blue sparkle sprinkles in another bowl. Be sure the bowl is wide enough to catch falling sprinkles (cereal bowls work well for this).
Step Three: After the cake pops have firmed up on their sticks, remove them from the fridge and make sure your melts are at optimum temperature. Gently dip a cake pop into the chocolate and tap the stick lightly on the edge of the bowl to take of excess chocolate. If the mixture is too thick and clumpy, add a couple tablespoons of melted shortening and mix it well.
Step Four: Taking pinches of sprinkles at a time, drop sprinkles onto the wet candy coating, taking care to work over the sprinkle bowl so that it catches falling sprinkles. You may wish to cover the cake ball entirely in sprinkles, or do a concentrated cluster near the stick or the base, or do a combination of both pink and blue on each pop.
Step Five: If you want lollipop-style cake pops, insert the dipped pops into the styrofoam block to set. If you want pops that are stick-up, set the dipped pops on the parchment-lined tray, making sure to keep the stick centered so it doesn’t set crookedly.
Step Six: Put the tray back in the fridge a final time to set. The candy coating sets up quickly, so leaving the pops to air-dry will work as well, it will just take a bit longer. Be aware that leaving the candy coating in the fridge for too long can cause condensation, which could cause color bleeding and weakened frosting (for gluing on larger embellishments such as shaped sprinkles)
Like any baking endeavor, cake pops take lots of patience and practice, and understanding how your microwave/oven/stove top handles what you throw at them. Fortunately, cake pops are fun and easy for everyone in the family, and can be created for virtually every occasion!
*You may melt the chocolate melts using the following methods:
Microwave – the least controllable, melt at 50% power in 30 second-1 minute bursts. Even when it doesn’t look melted enough, use a spoon to stir the contents and melt it down into a smooth consistency. You may need to add some melted shortening to this mixture if skin or clumps are forming – that means the chocolate is overheated. Also, don’t microwave the entire bag at once – working in thirds or halves is better for consistent microwave heating.
Double boiler or metal bowl placed in saucepan with some water – use your candy thermometer to ensure the chocolate does not reach more than 100 degrees.
Make these cake pops for your child’s next birthday and then to make the day even more special set up a personalized phone call from Shimmer and Shine themselves (or one of 10 additional characters) when you join the Nickelodeon Birthday Club. It’s free and easy!


