“We’re doing an art project!”
It was a declaration that—for the average adult or child—would have inspired feelings of joy, excitement, or (at the very least) feigned enthusiasm. Instead, a thrill of terror swept through me, draining my face of blood and leaving behind an expression of all-too apparent mortification.
Now, anyone who knows me also knows that I have the artistic skills of a third-grader. Anyone, that is, except my friend, who ignored my objections and began pulling paint bottles and glass vessels out of his bulging bag and scattering them across the coffee table.
“Don’t worry,” he said, grinning as he shoved a pack of bright acrylic paints into my hand. “I made this craft in grade school!”
Those words were like magic.
I was instantly transported back to the third grade. Suddenly, the pro stick-figure drawer and self-proclaimed master kid artist in me couldn’t wait to get started. I squirmed impatiently as my friend showed me how to pour one color after the other into my iridescent lightbulb and move the colors around slowly so that they created an ethereal swirled effect. Within five minutes, I had finished my first ornament and moved onto my second, which I filled with my fav Nick colors: green and orange. The colors blended beautifully and took on an iridescence that made me wish we could make a dozen more.
And so we did.
The good news here? If I can make this, you and your kids most certainly can this holiday season!
(Difficulty Level: Easy)
What You’ll Need
Newspaper or disposable tablecloths
Assorted acrylic paints
Iridescent lightbulbs
Plastic cups
String
How to Make
Step One: Line a large table with newspapers or disposable tablecloths. (Tip: Use tape to secure the liners and keep them from moving as your kids paint.)
Step Two: Hold a lightbulb upside down, with the opening side facing up. Choose your first color of acrylic paint and gently squeeze a generous dollop into the opening, letting the paint drip down the inside sides. As the paint continues dripping down, rotate the lightbulb so that the paint swirls a bit.
Step Three: Now take your second color of acrylic paint and squeeze a second generous dollop into the opening. Repeat the swirling motion, allowing the paints to mix together slightly and coat unpainted parts of the lightbulb. Continue alternating colors and swirling until the inside of the lightbulb is entirely coated.
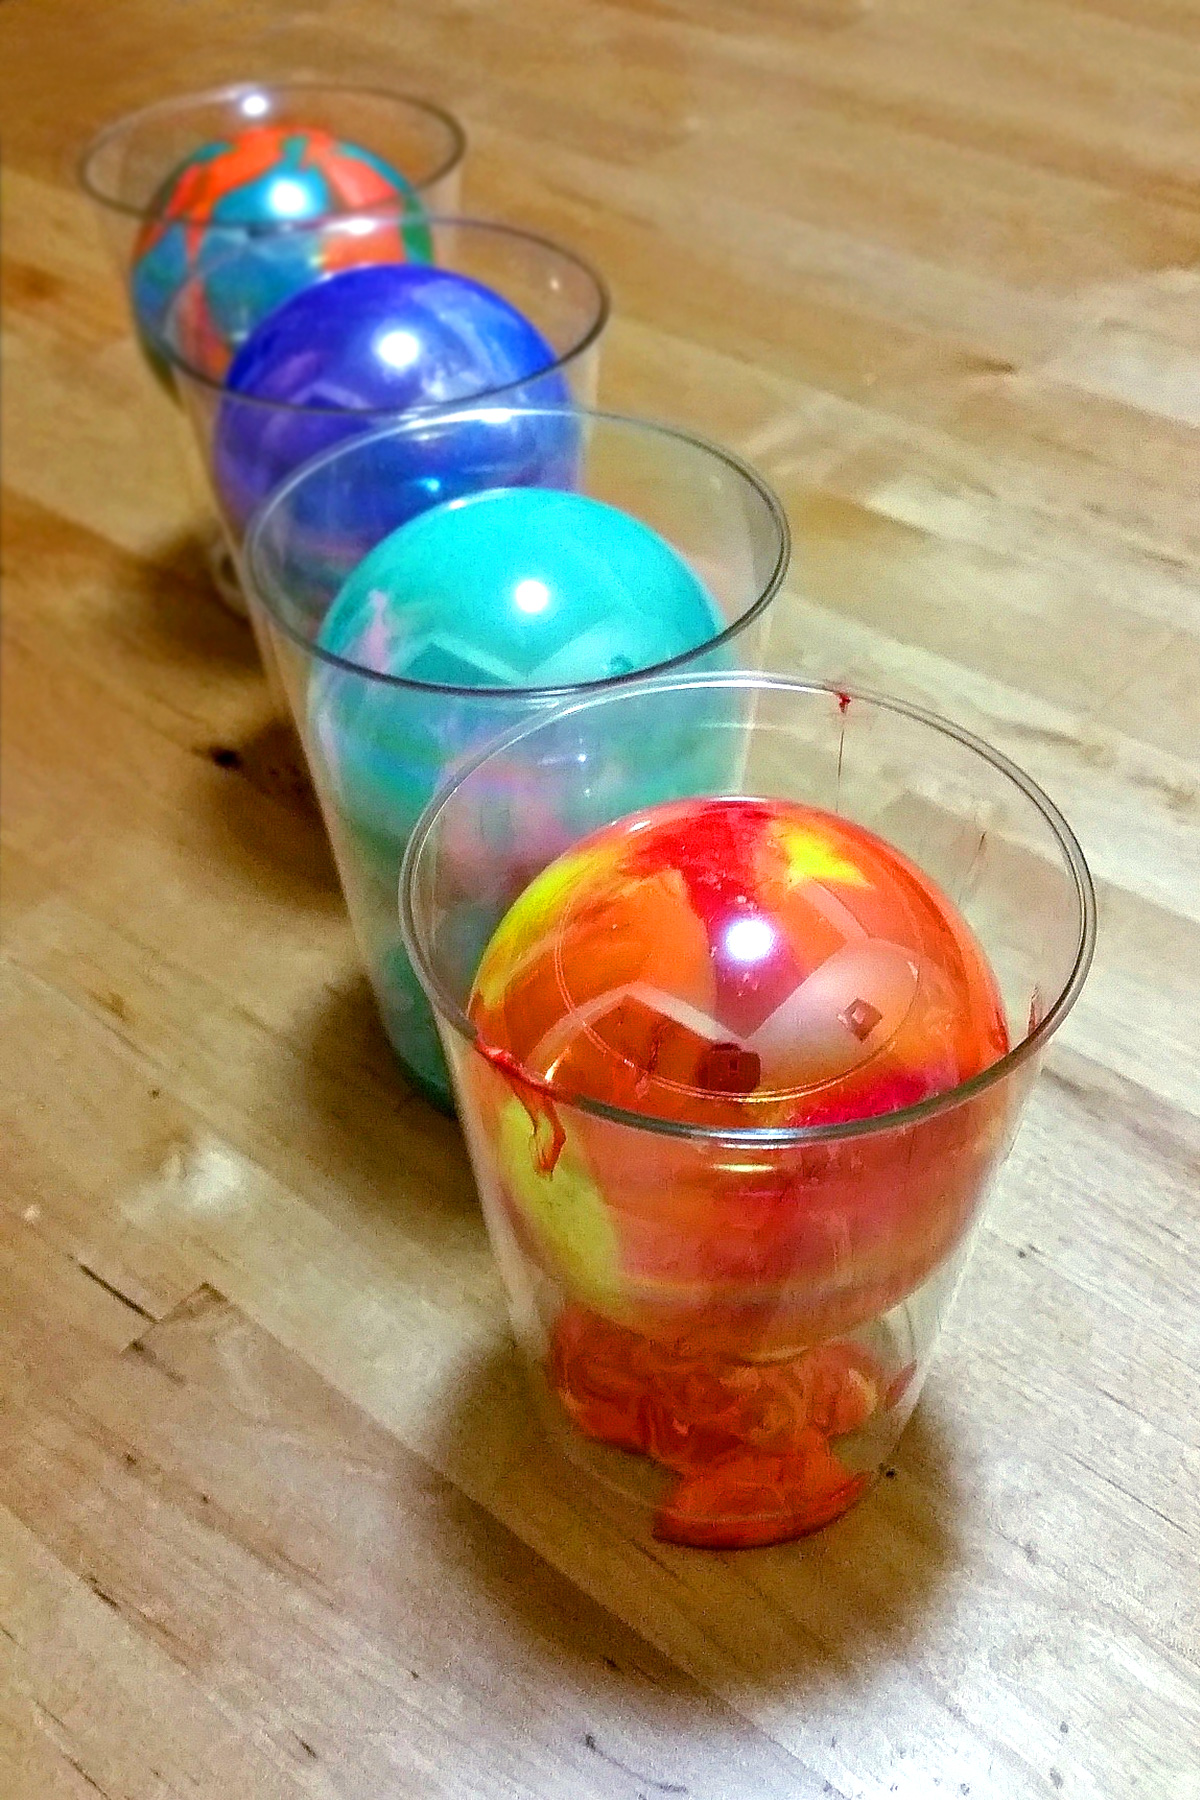
Step Four: Carefully flip the lightbulb over into a plastic cup so that excess paint can drip out of the opening. Allow your ornaments to dry for 2-3 days.
Step Five: Once your ornaments dry completely, tie a string around the base of each. Then create a loop so that you can hang up your masterpieces wherever you’d like: by the mantelpiece, on a tree, or right in your kids’ bedrooms!
It’s your turn! What colors will your first DIY lightbulb ornament be?


